

PLAN
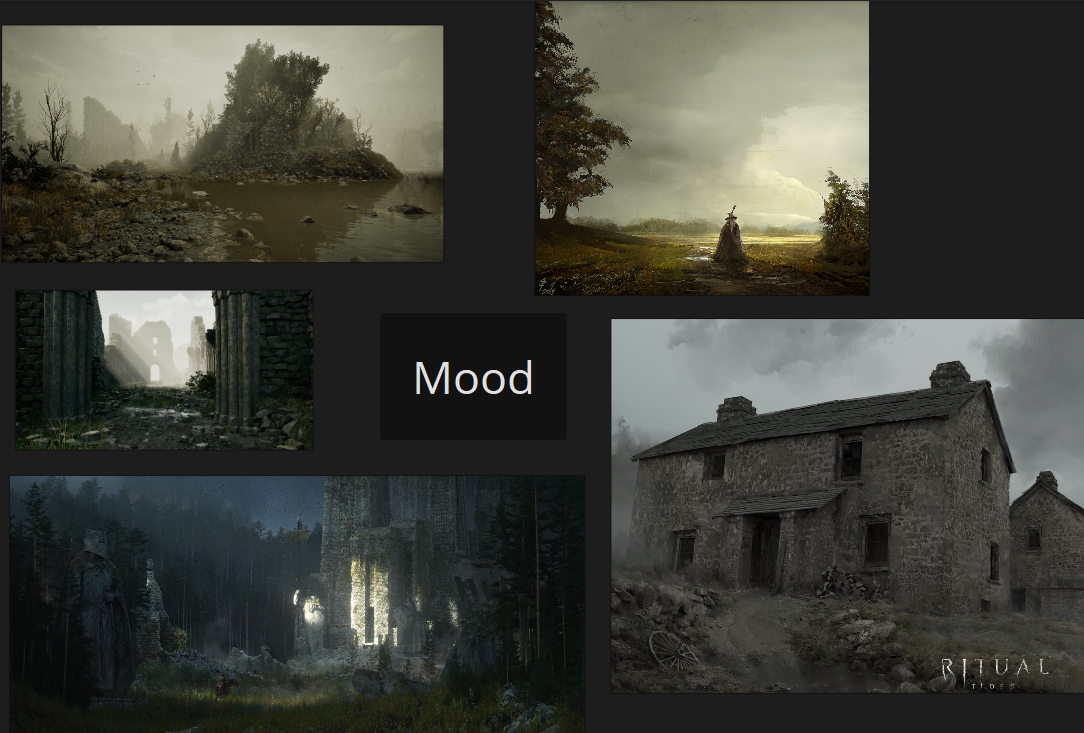
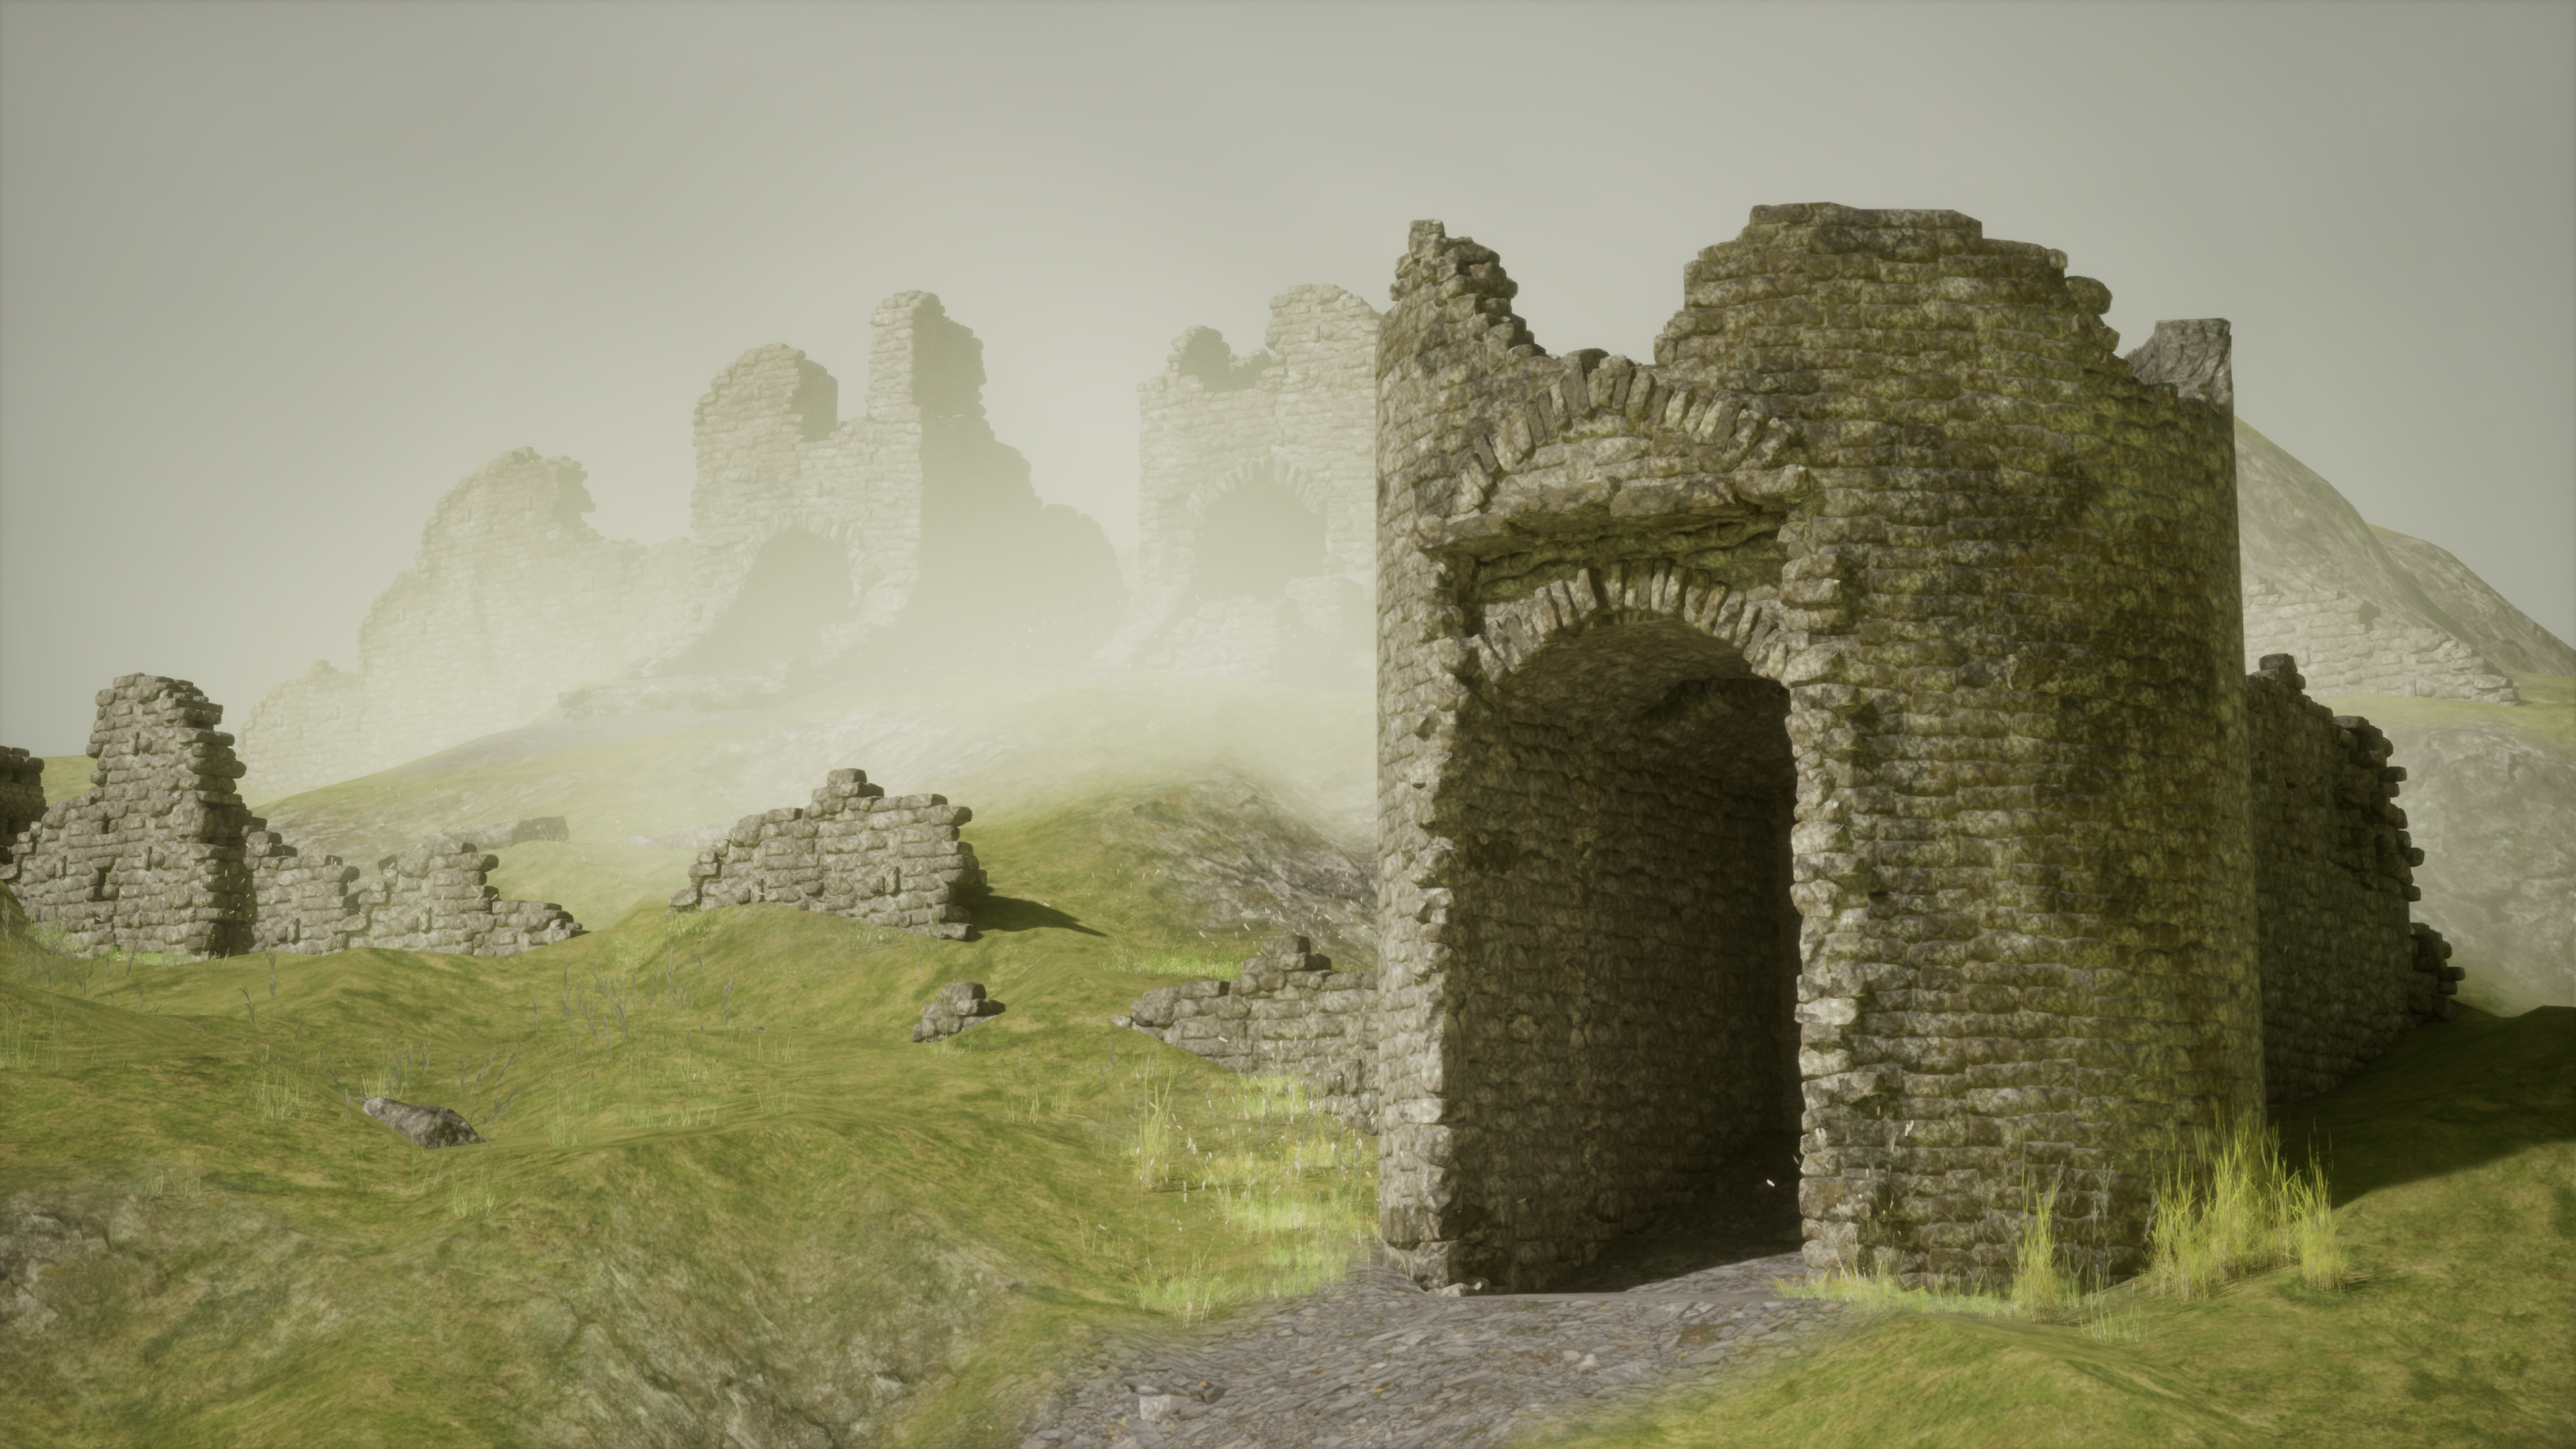
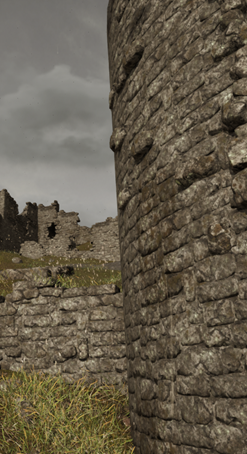
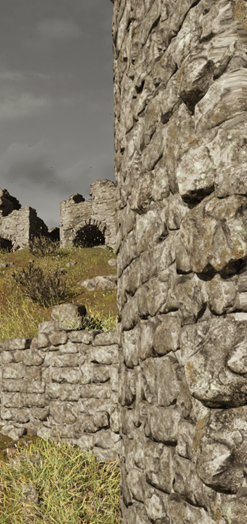
I planned to create a Unreal Engine 5 environment scene resembling the Rock of Dunamase, an ancient derelict Irish rock castle. I aimed to give the scene a dark fantasy atmostphere and mood, similar to Elden Ring.
The scene is constructed heavily from a rock kitbash. Tiling wall pieces (like the main pieces of the keep) were made a using traditional lower poly UE4 workflow meshes, before tesselating using the tiling brick's height map to make them into Nanite optimised meshes. Individual rocks are higher poly and Nanite optimised from the offset.
PROCESS
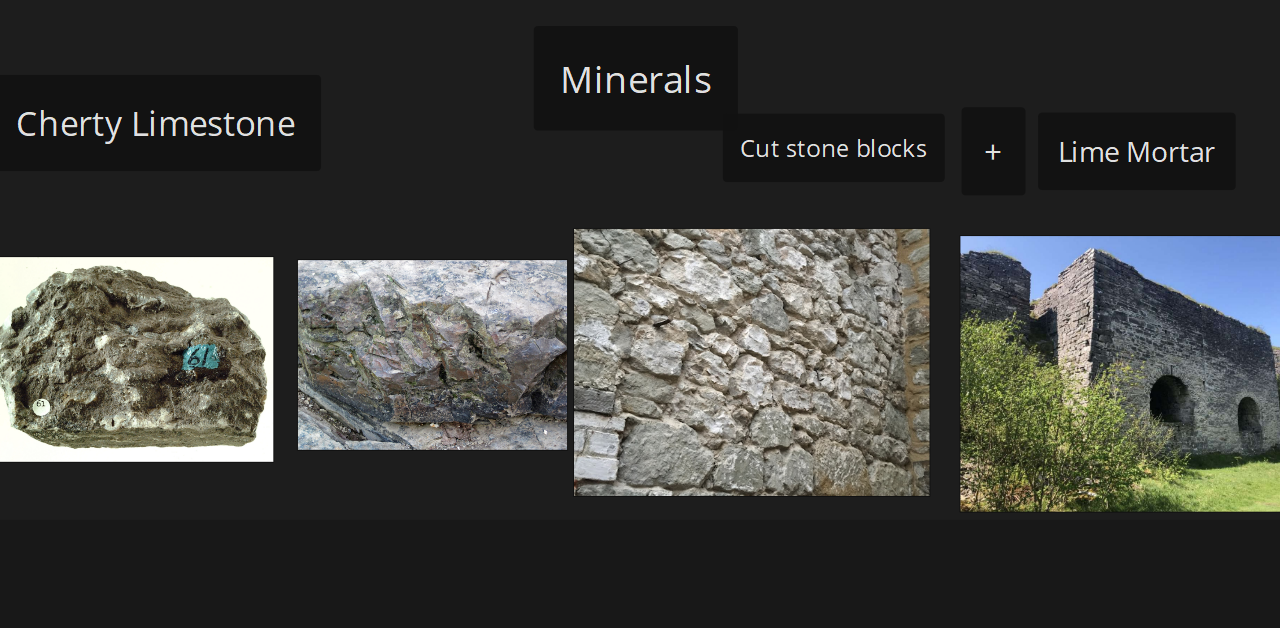
As always, started by gathering some strong reference. Each for the scene, materials, and art direction/style.
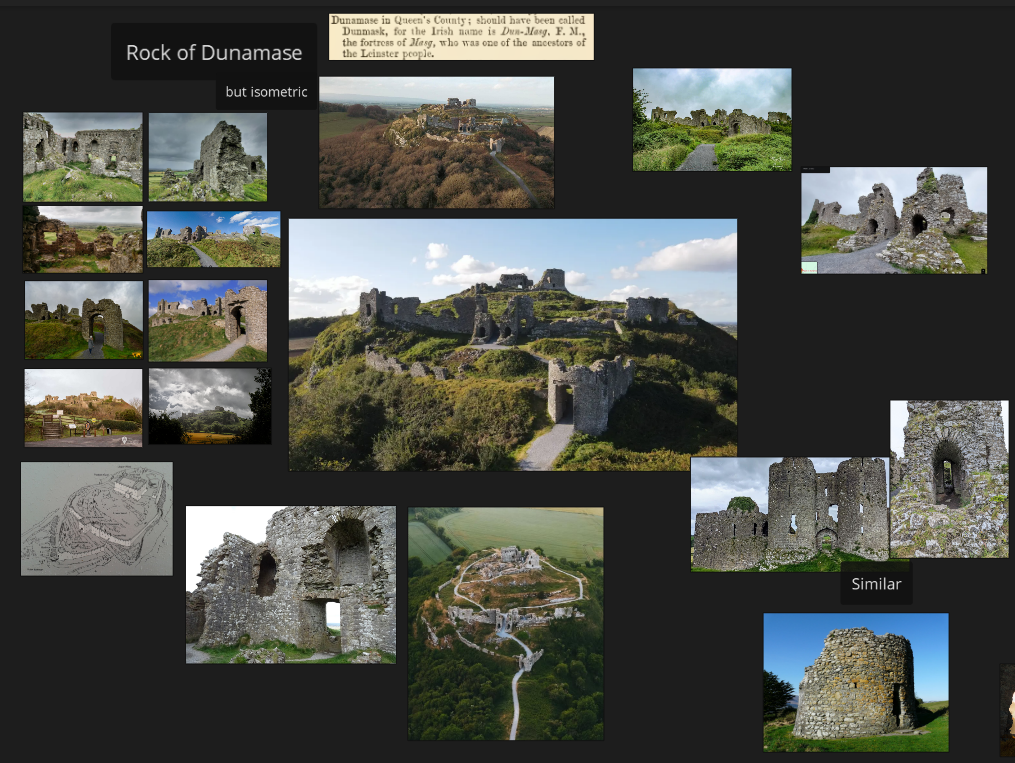
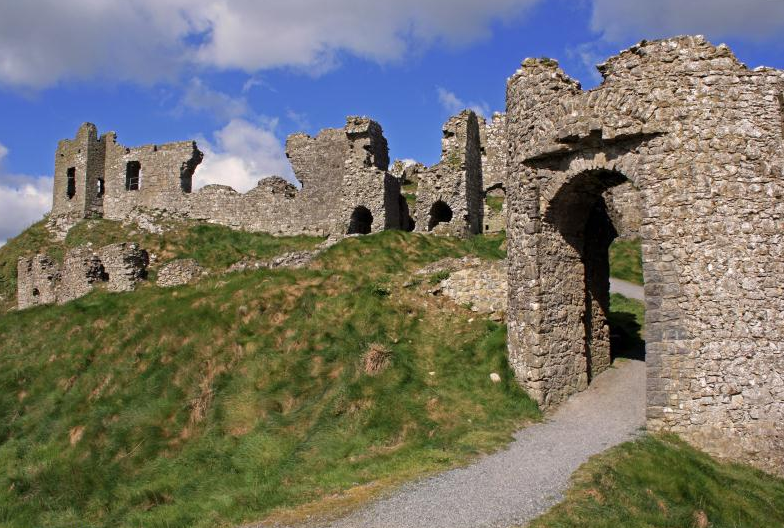
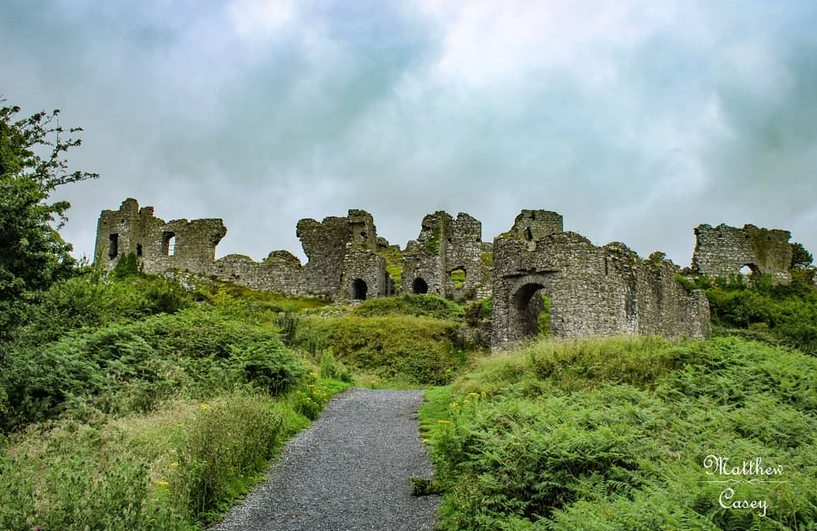
The real Rock of Dunamase.
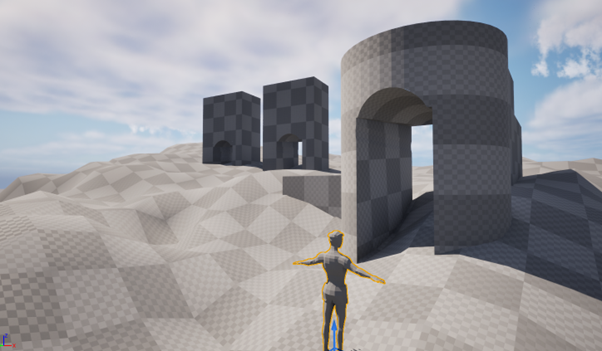
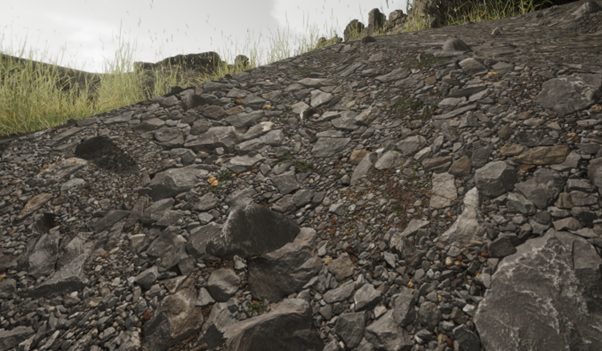
I quickly got the biggest shapes of the scene blocked out in engine with BSPs, and sculpted a rough landscape layout. Also got a human size mesh in the scene to confirm correct scale.
Since the scene is built almost entirely with rocks, I wanted high poly rock detail to be noticeable. This will help achieve that rugged edge look on the ancient castle surfaces. It means that I cannot simply make a brick tile pattern in Designer and deploy it everywhere. Instead this scene will be primarily created with individual rocks, laid out across the environment. The big repeating shapes on the scene will be created with a tiling material made by baking out the tangent space normals from a collection of bricks gathered together.
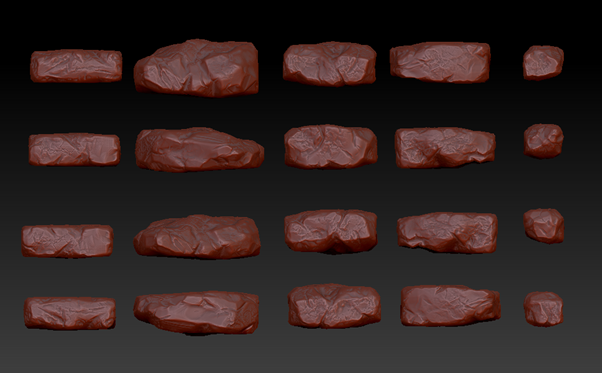
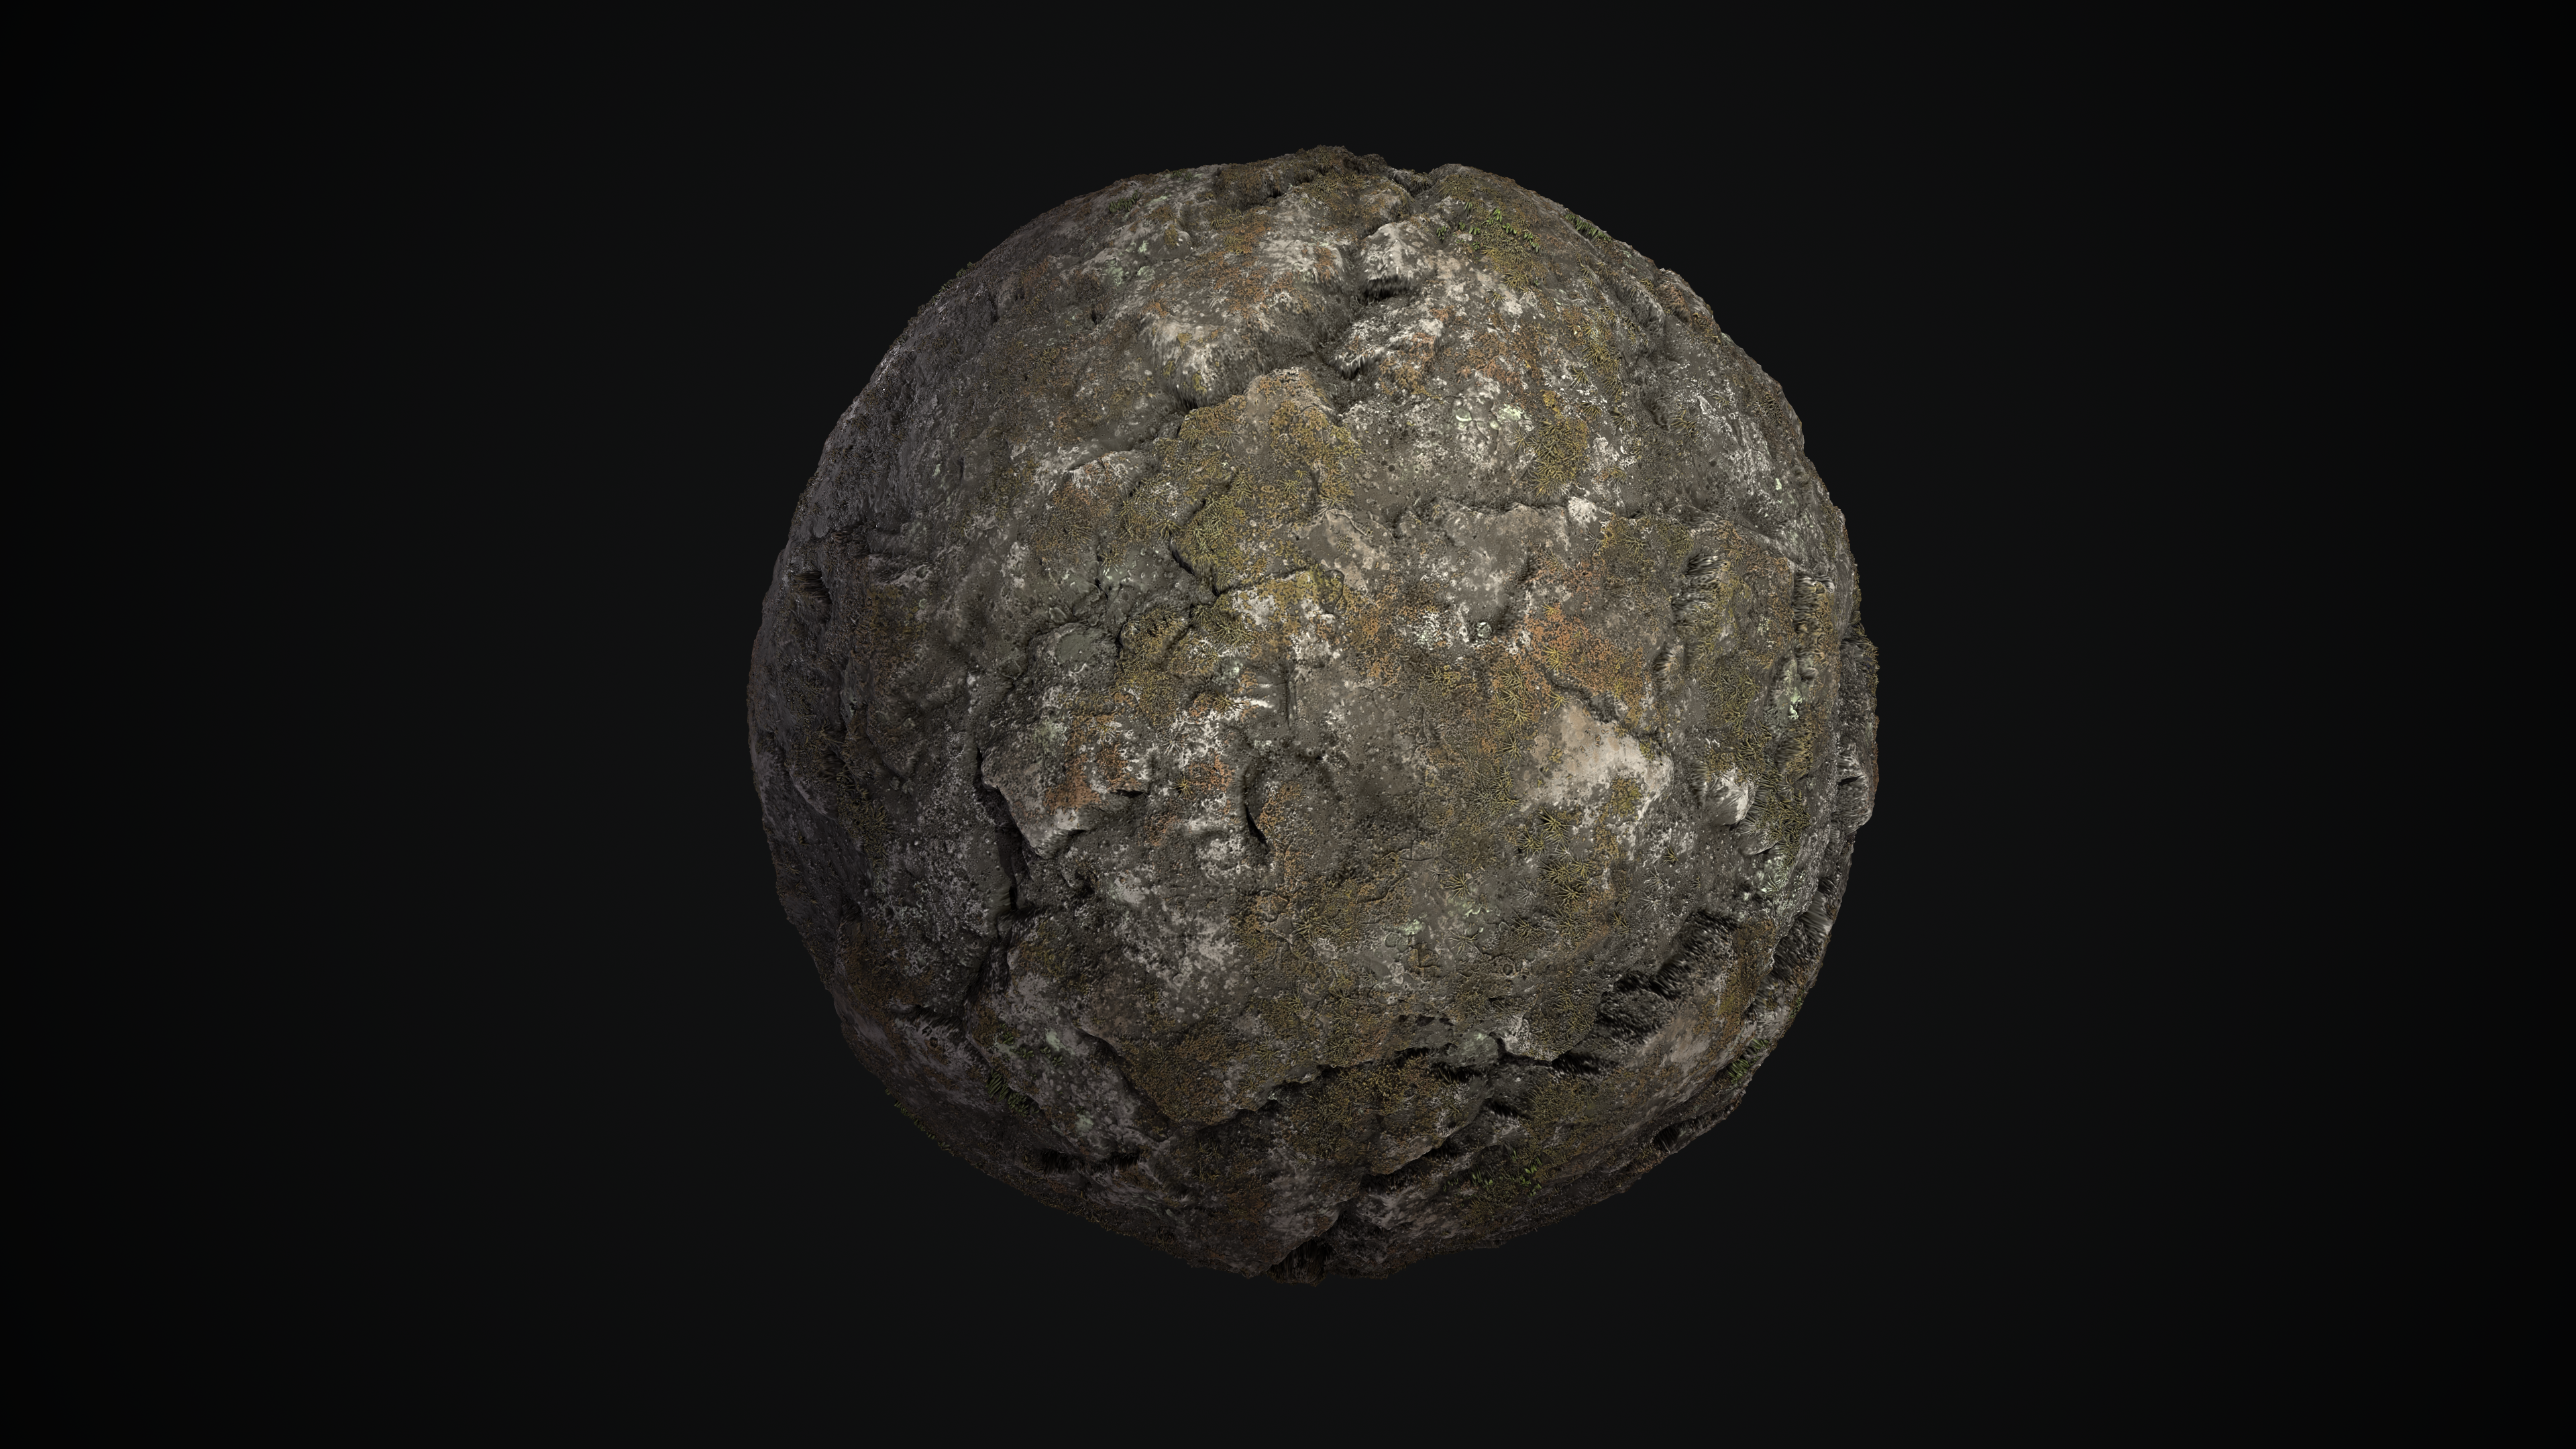
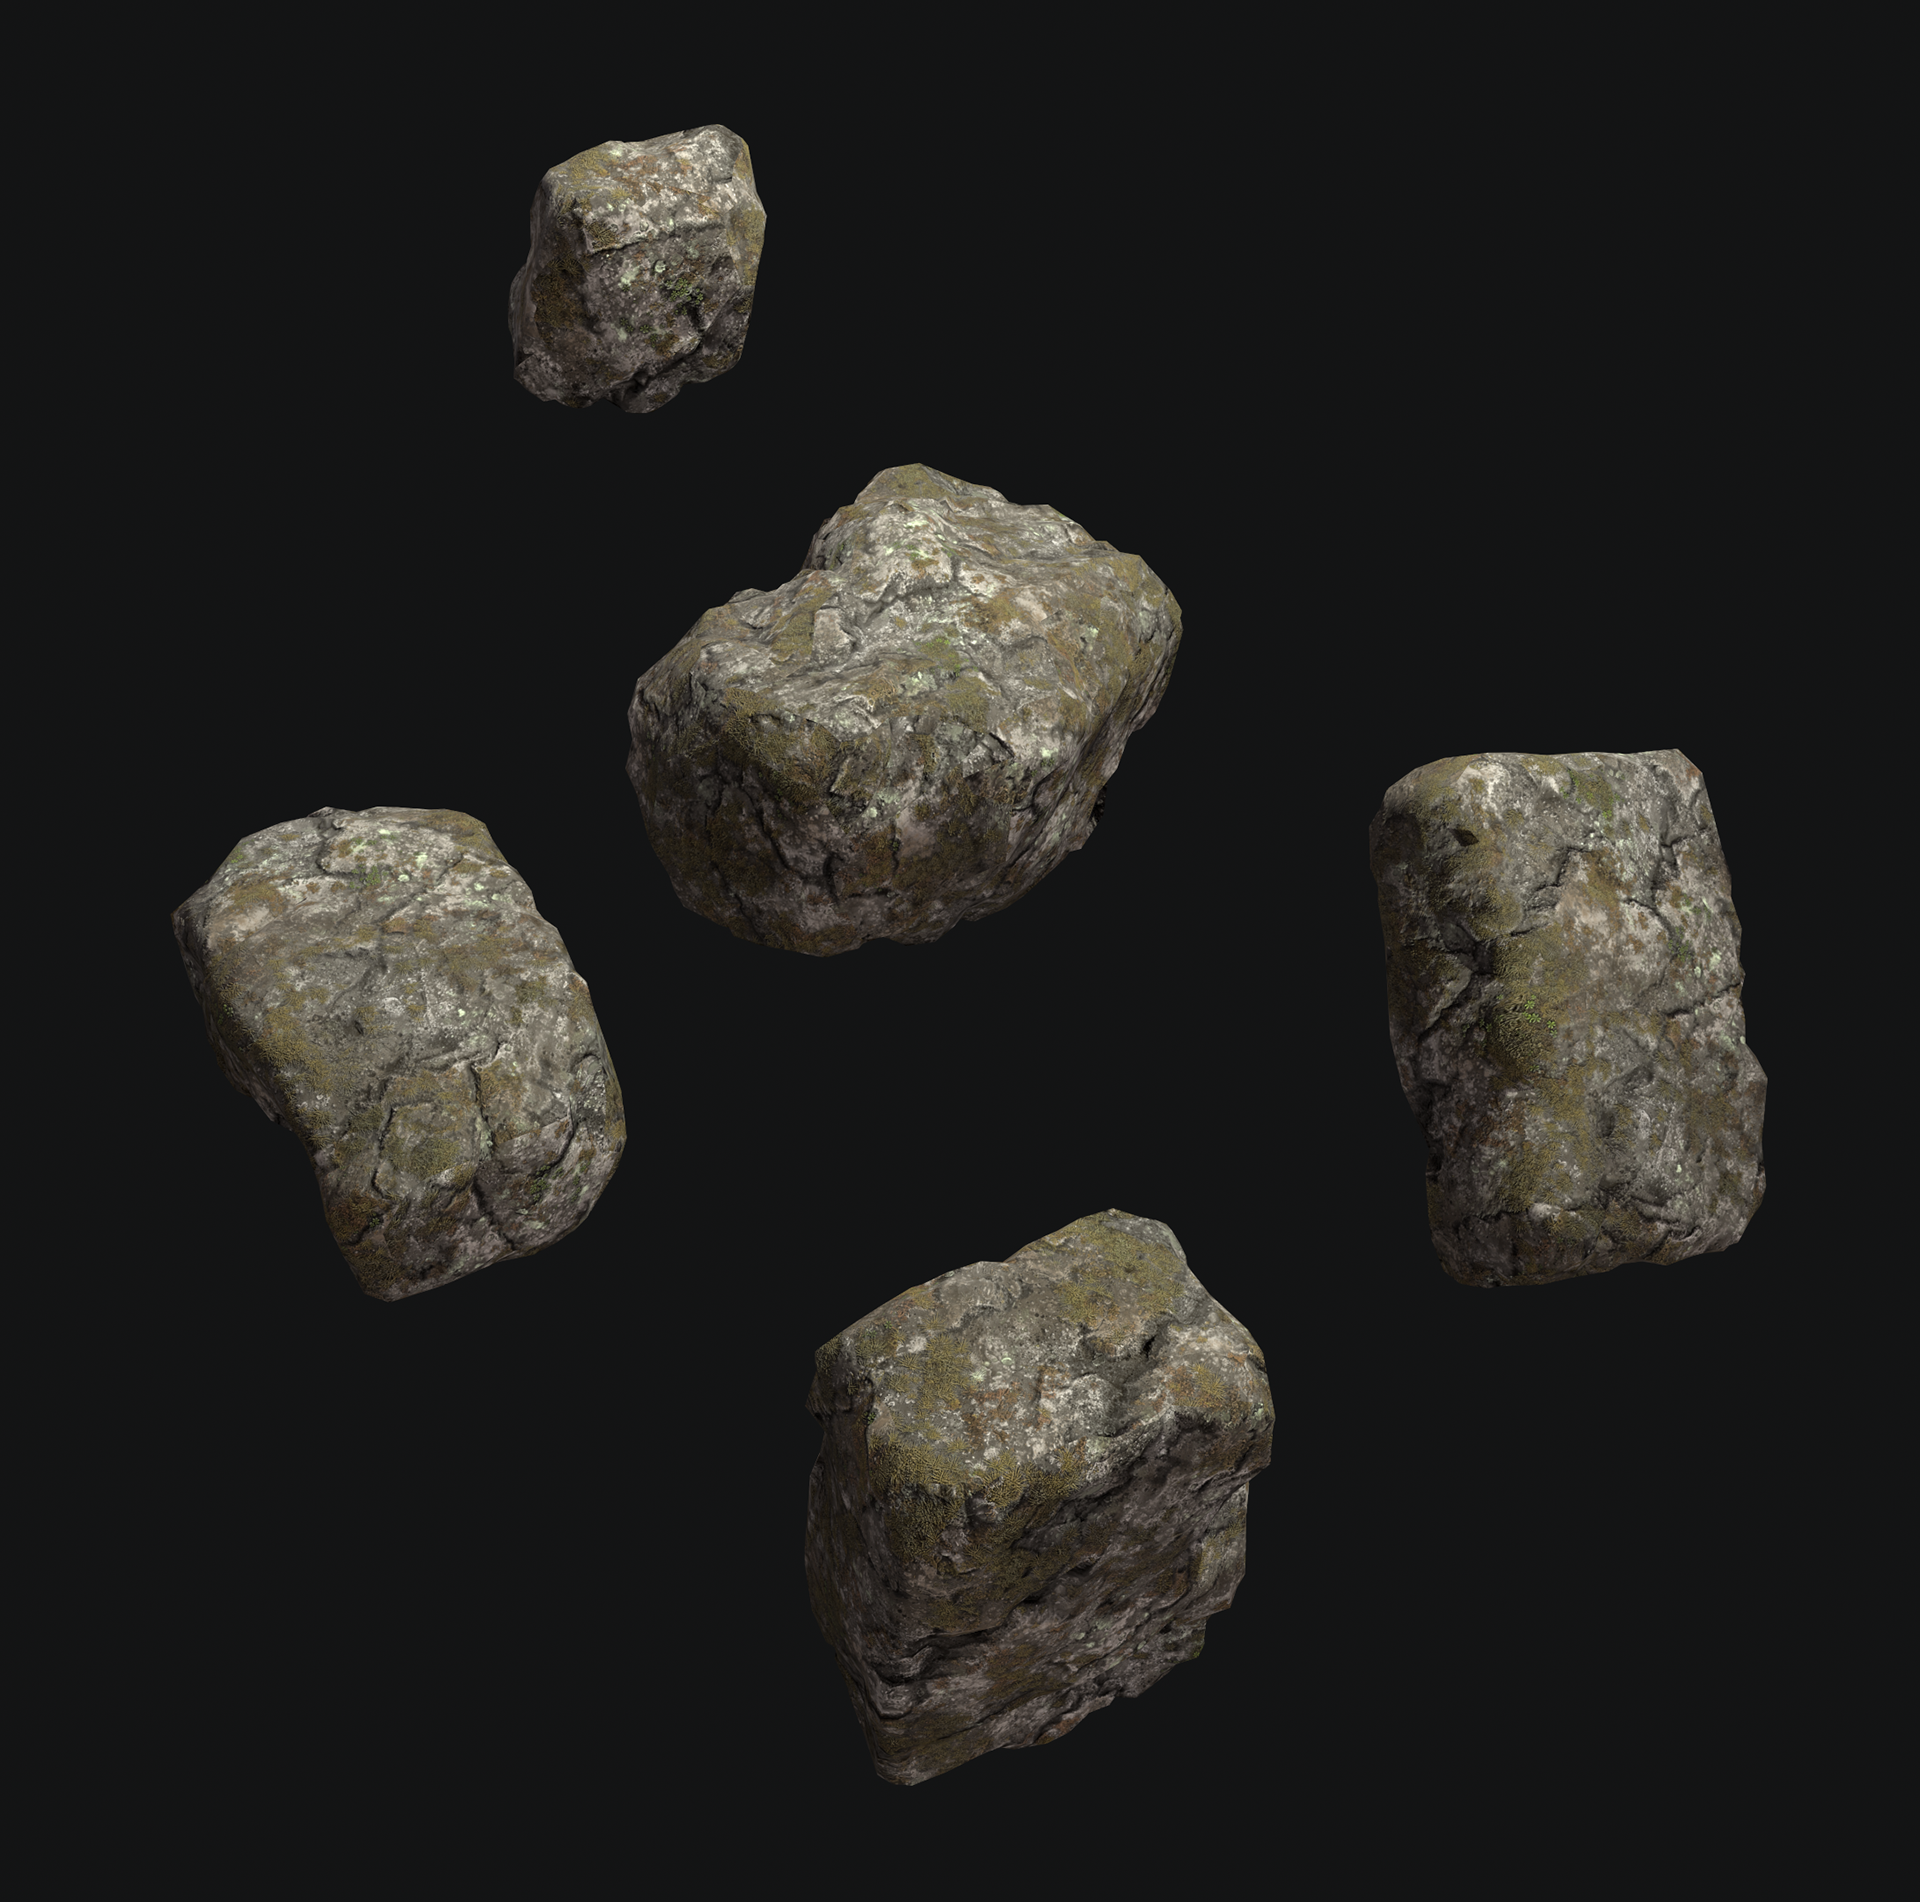
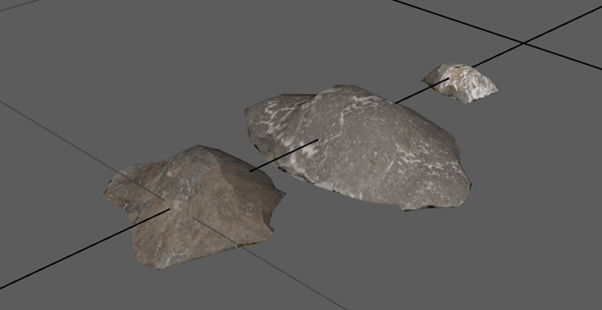
To start this process I needed high poly rocks, and the easiest place for me to make those is in Zbrush.
After sculpting the rocks I did a test in engine with Megascan textures with auto UV to confirm the shape language of the rocks was looking good, before bringing the rocks into Maya and retopologising and UVing.
SUBSTANCE DESIGNER MATERIAL
I wanted to create my own textures for the rocks, with 3 variants that I can blend together.
Rather than creating a brick style I texture, I instead want textures for each individual rock unit so that I can preserve high poly detail to be showcased with Nanite meshes.
I have intermediate skills at Substance Designer, mostly feeling comfortable doing more repeating shapes with tile sampler rather than jagged rock surfaces. So I based my process by following Javier Perez's rock wall process. Mine is quite different by the end, and the project's focus is more on kitbashing a realistic ruins environment rather than material creation (although the materials must still look great).
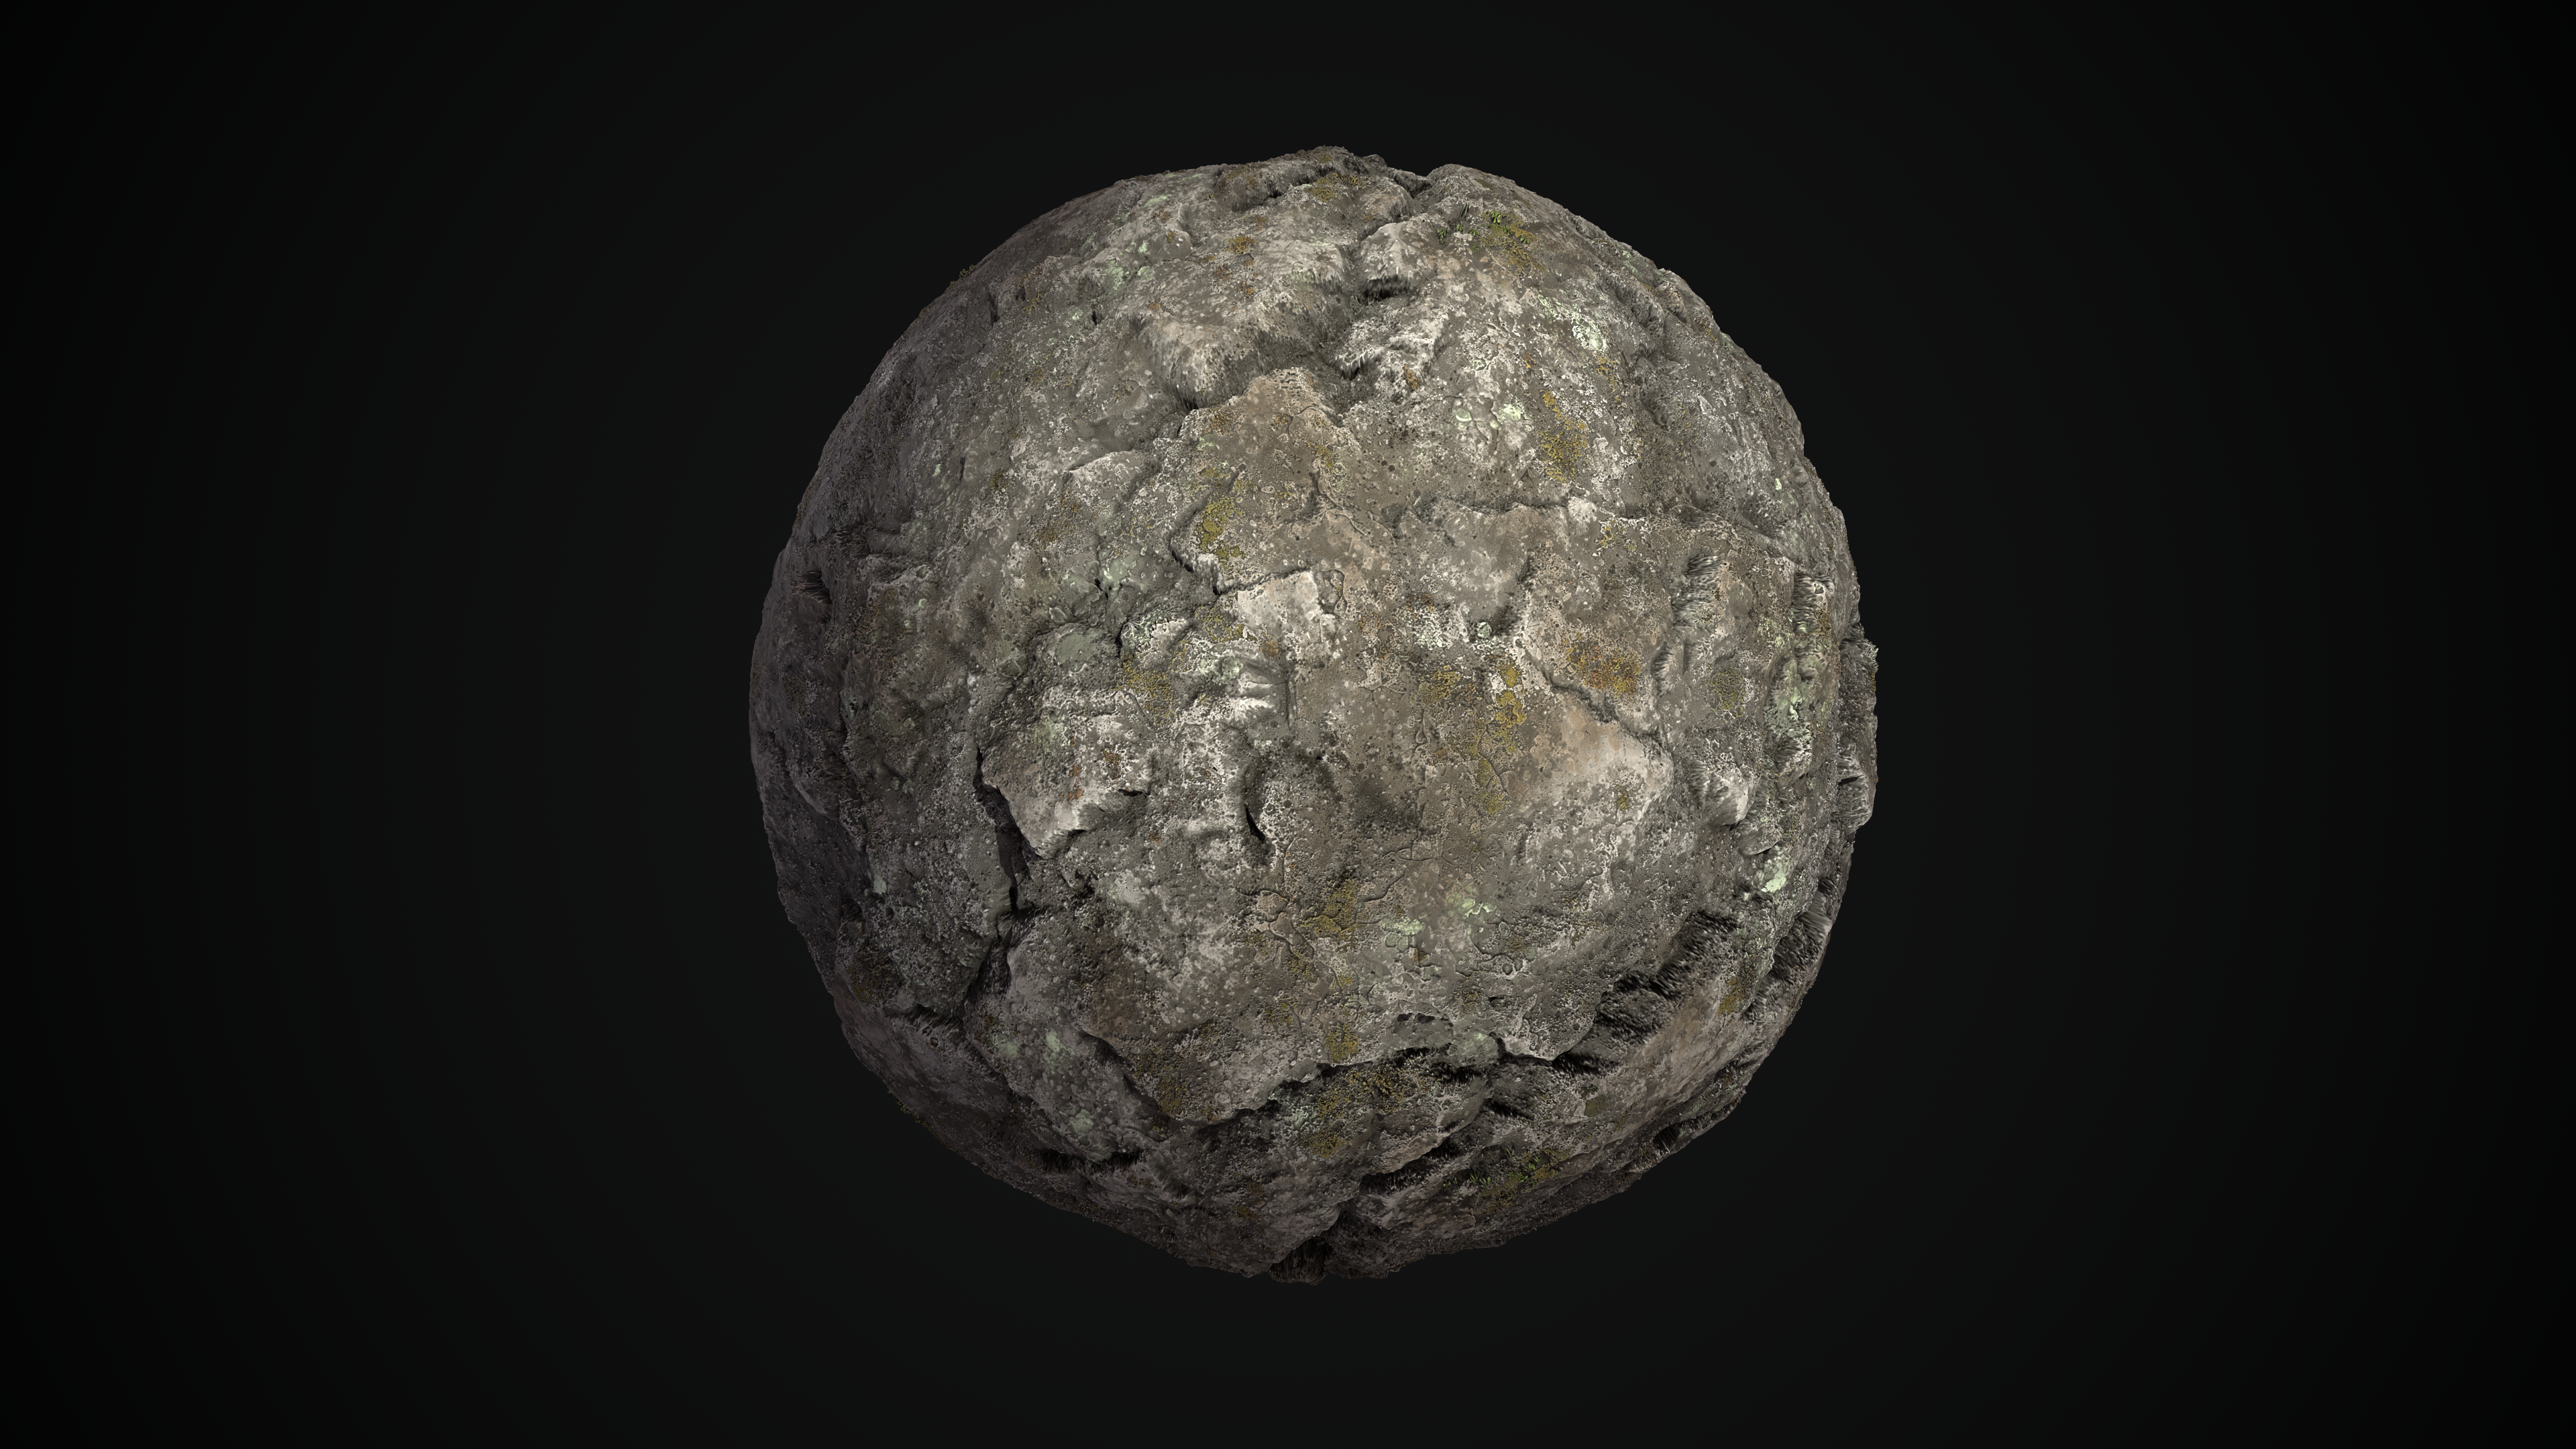
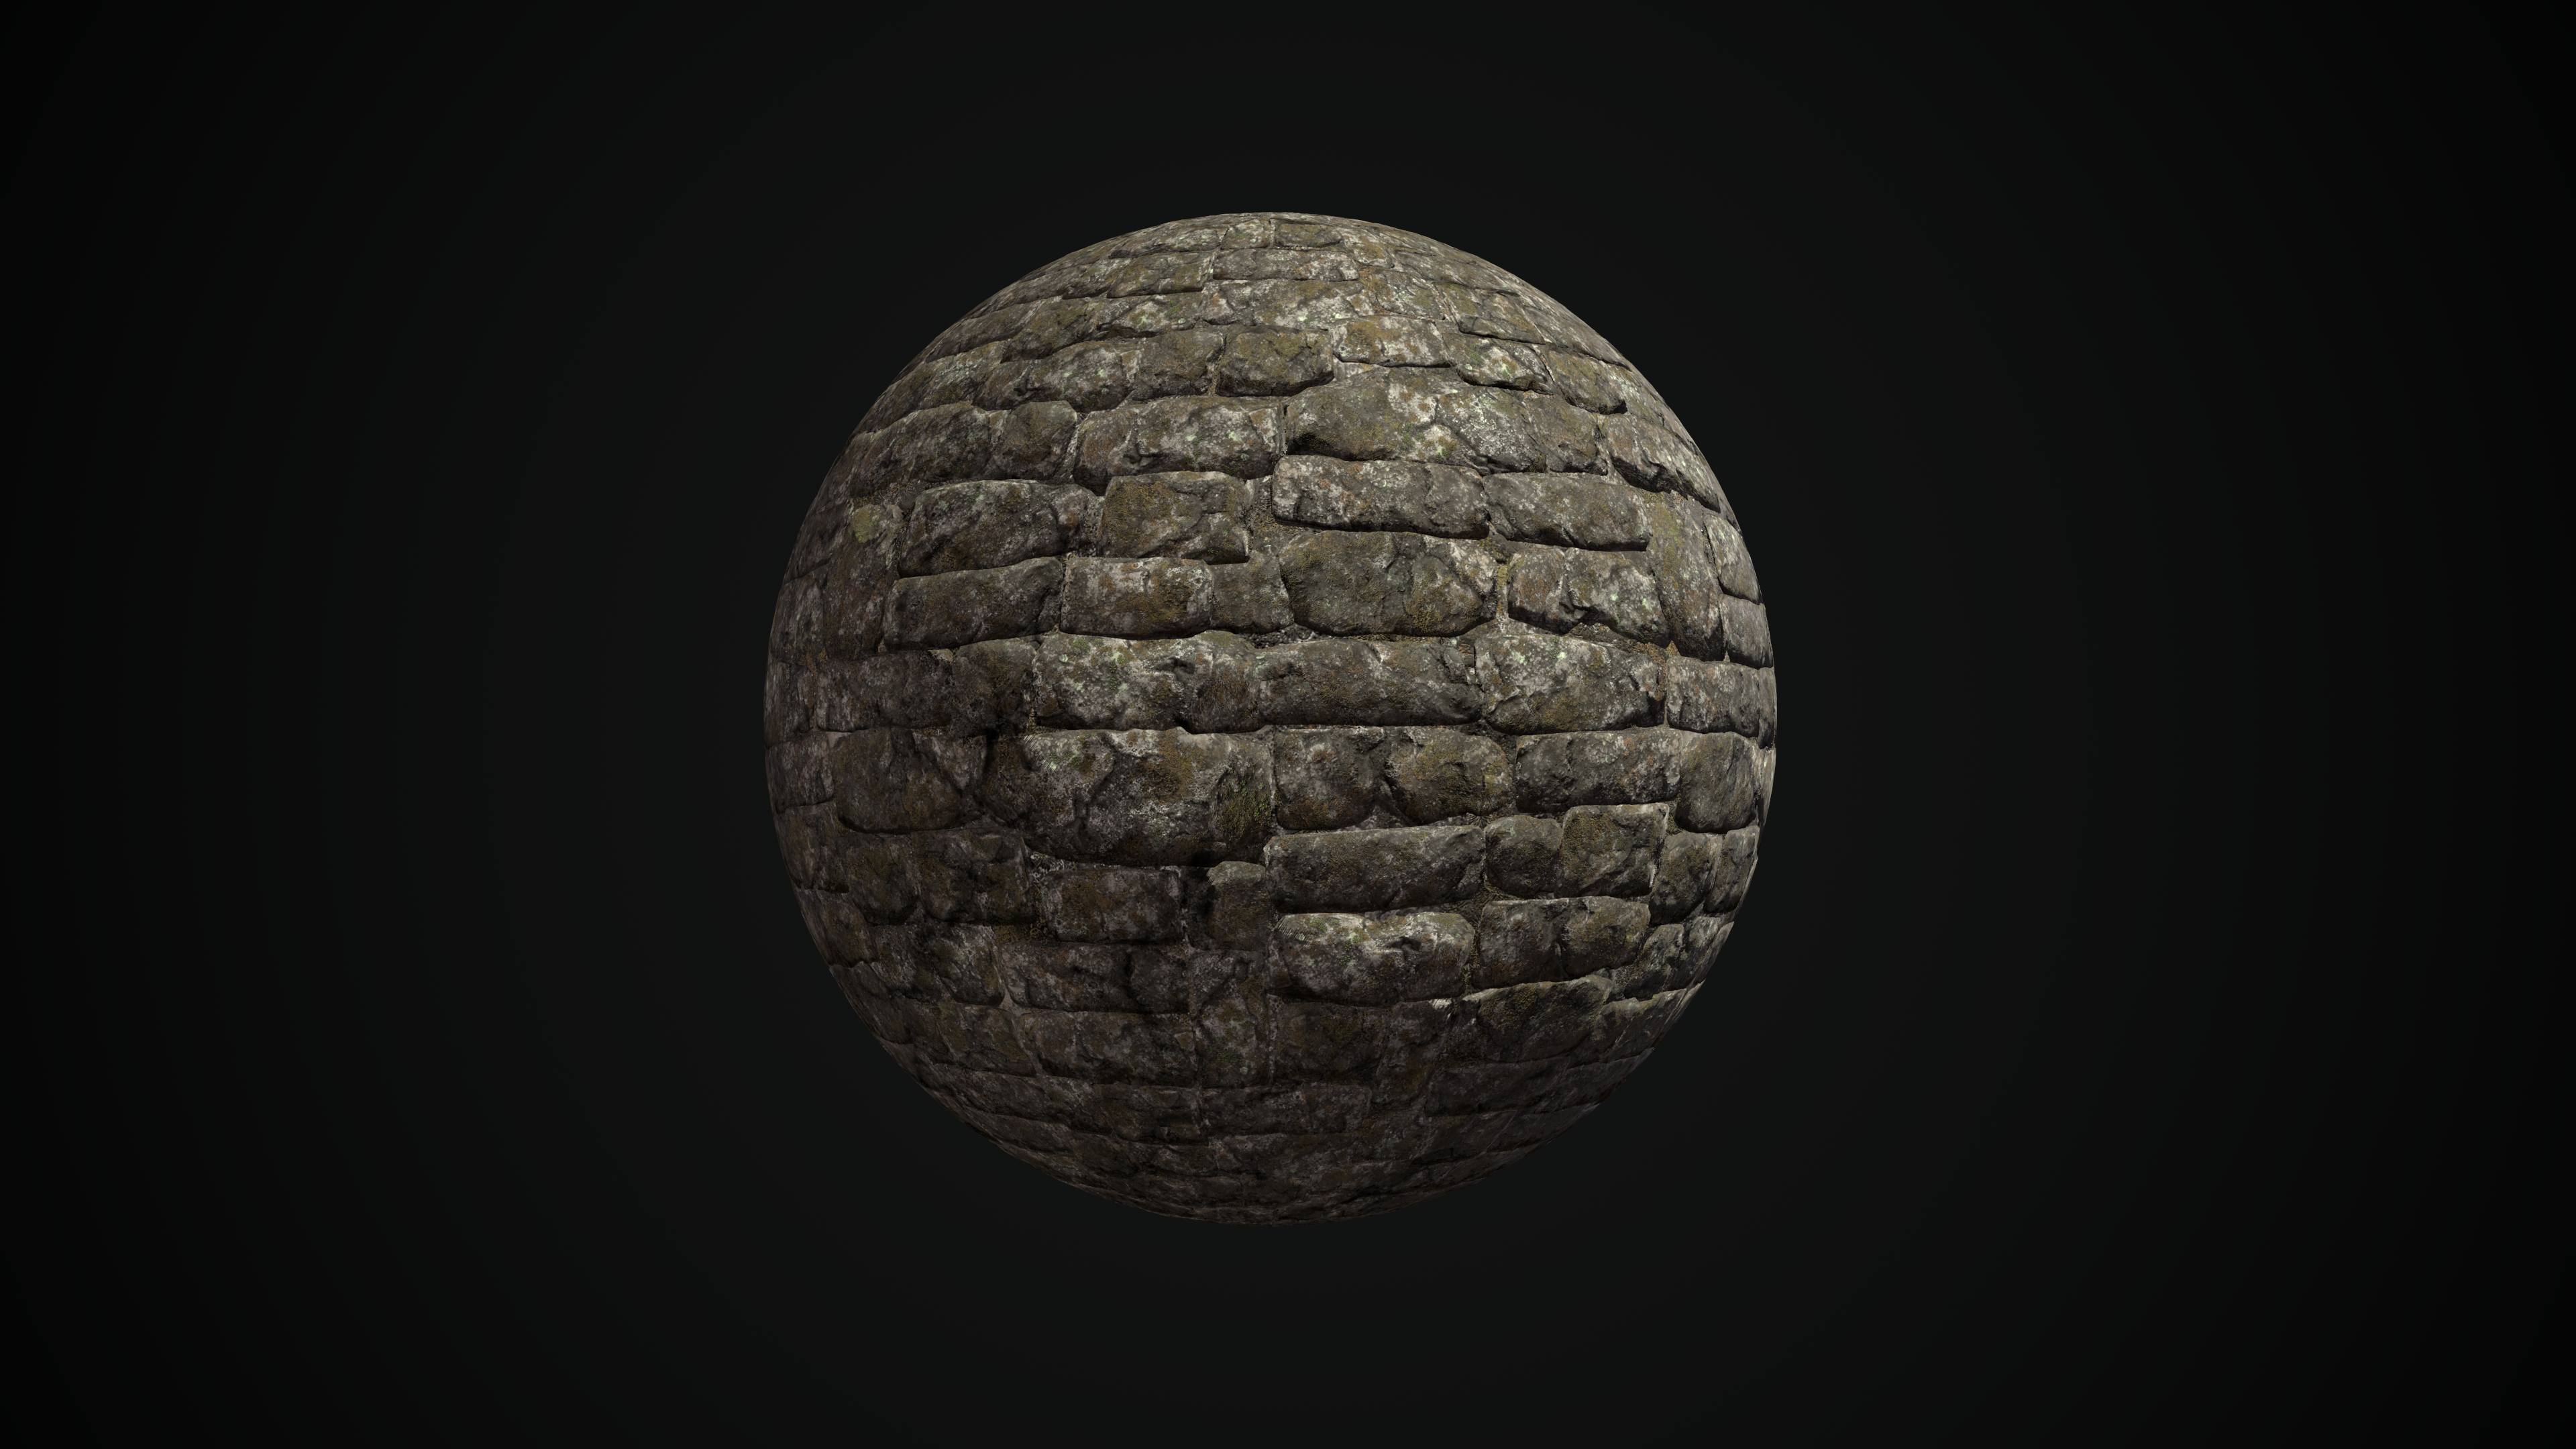
Default rocky material
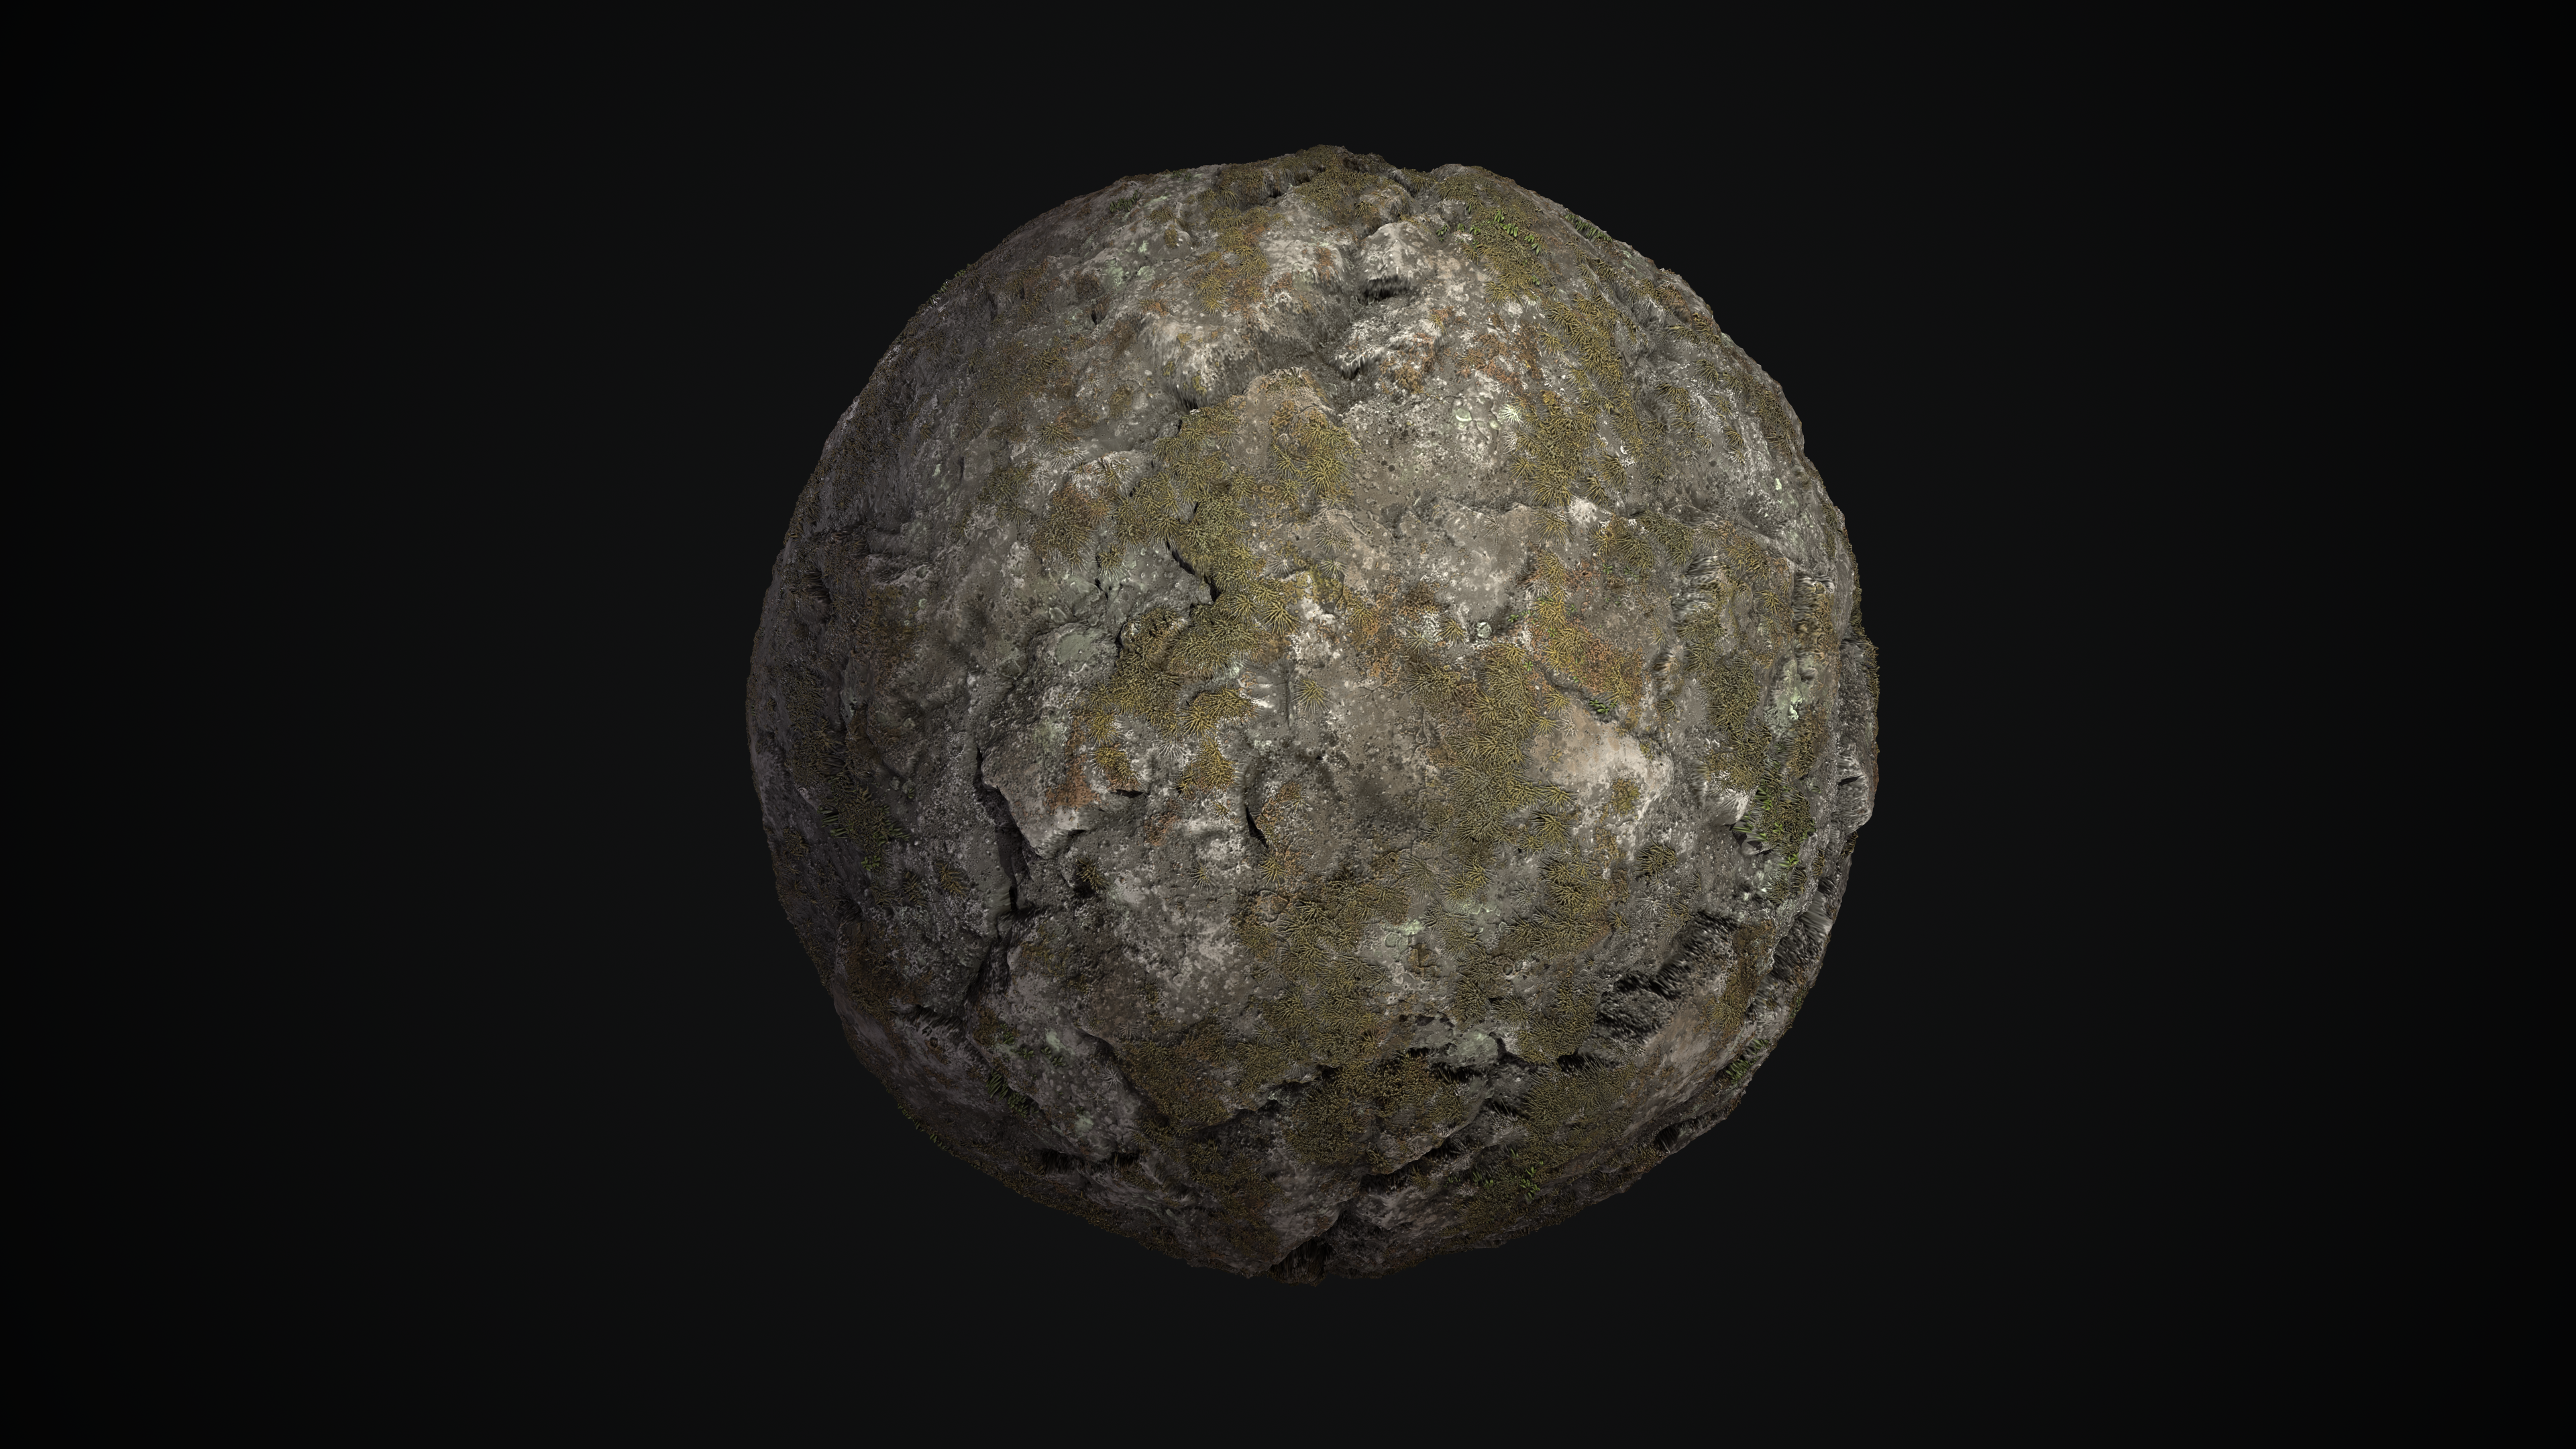
Mossy rocky material
Mossy and blackened rocky material
BAKED BRICK TEXTURES
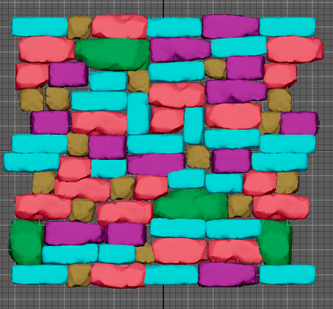
Next I applied the rocky material to the rocks, with the intention of baking them out as a tiling brick pattern. This involved laying the rocks over a 2 metre space and making sure that each edge has a matching counterpiece on the opposing side. I colour coded each rock using vertex color to make sure I didn't repeat the same piece too often.
I modelled grout for the gaps in Zbrush and then combined and exported all the rocks with the grout plane, to prepare them for baking in xNormal.
I modelled grout for the gaps in Zbrush and then combined and exported all the rocks with the grout plane, to prepare them for baking in xNormal.

First result noisy and bad!
I modelled grout for the gaps in Zbrush and then combined and exported all the rocks with the grout plane, to prepare them for baking in xNormal.
The first bake I did was too noisy. Only after ticking and unticking all the boxes and repeating the process did I realise it was because I hadn't set Smooth Normals to Average. After ammending that it can out decently.
I repeated this step for each of the blend material variations, so that I can quickly blend objects with either material set.
I repeated this step for each of the blend material variations, so that I can quickly blend objects with either material set.

Albedo
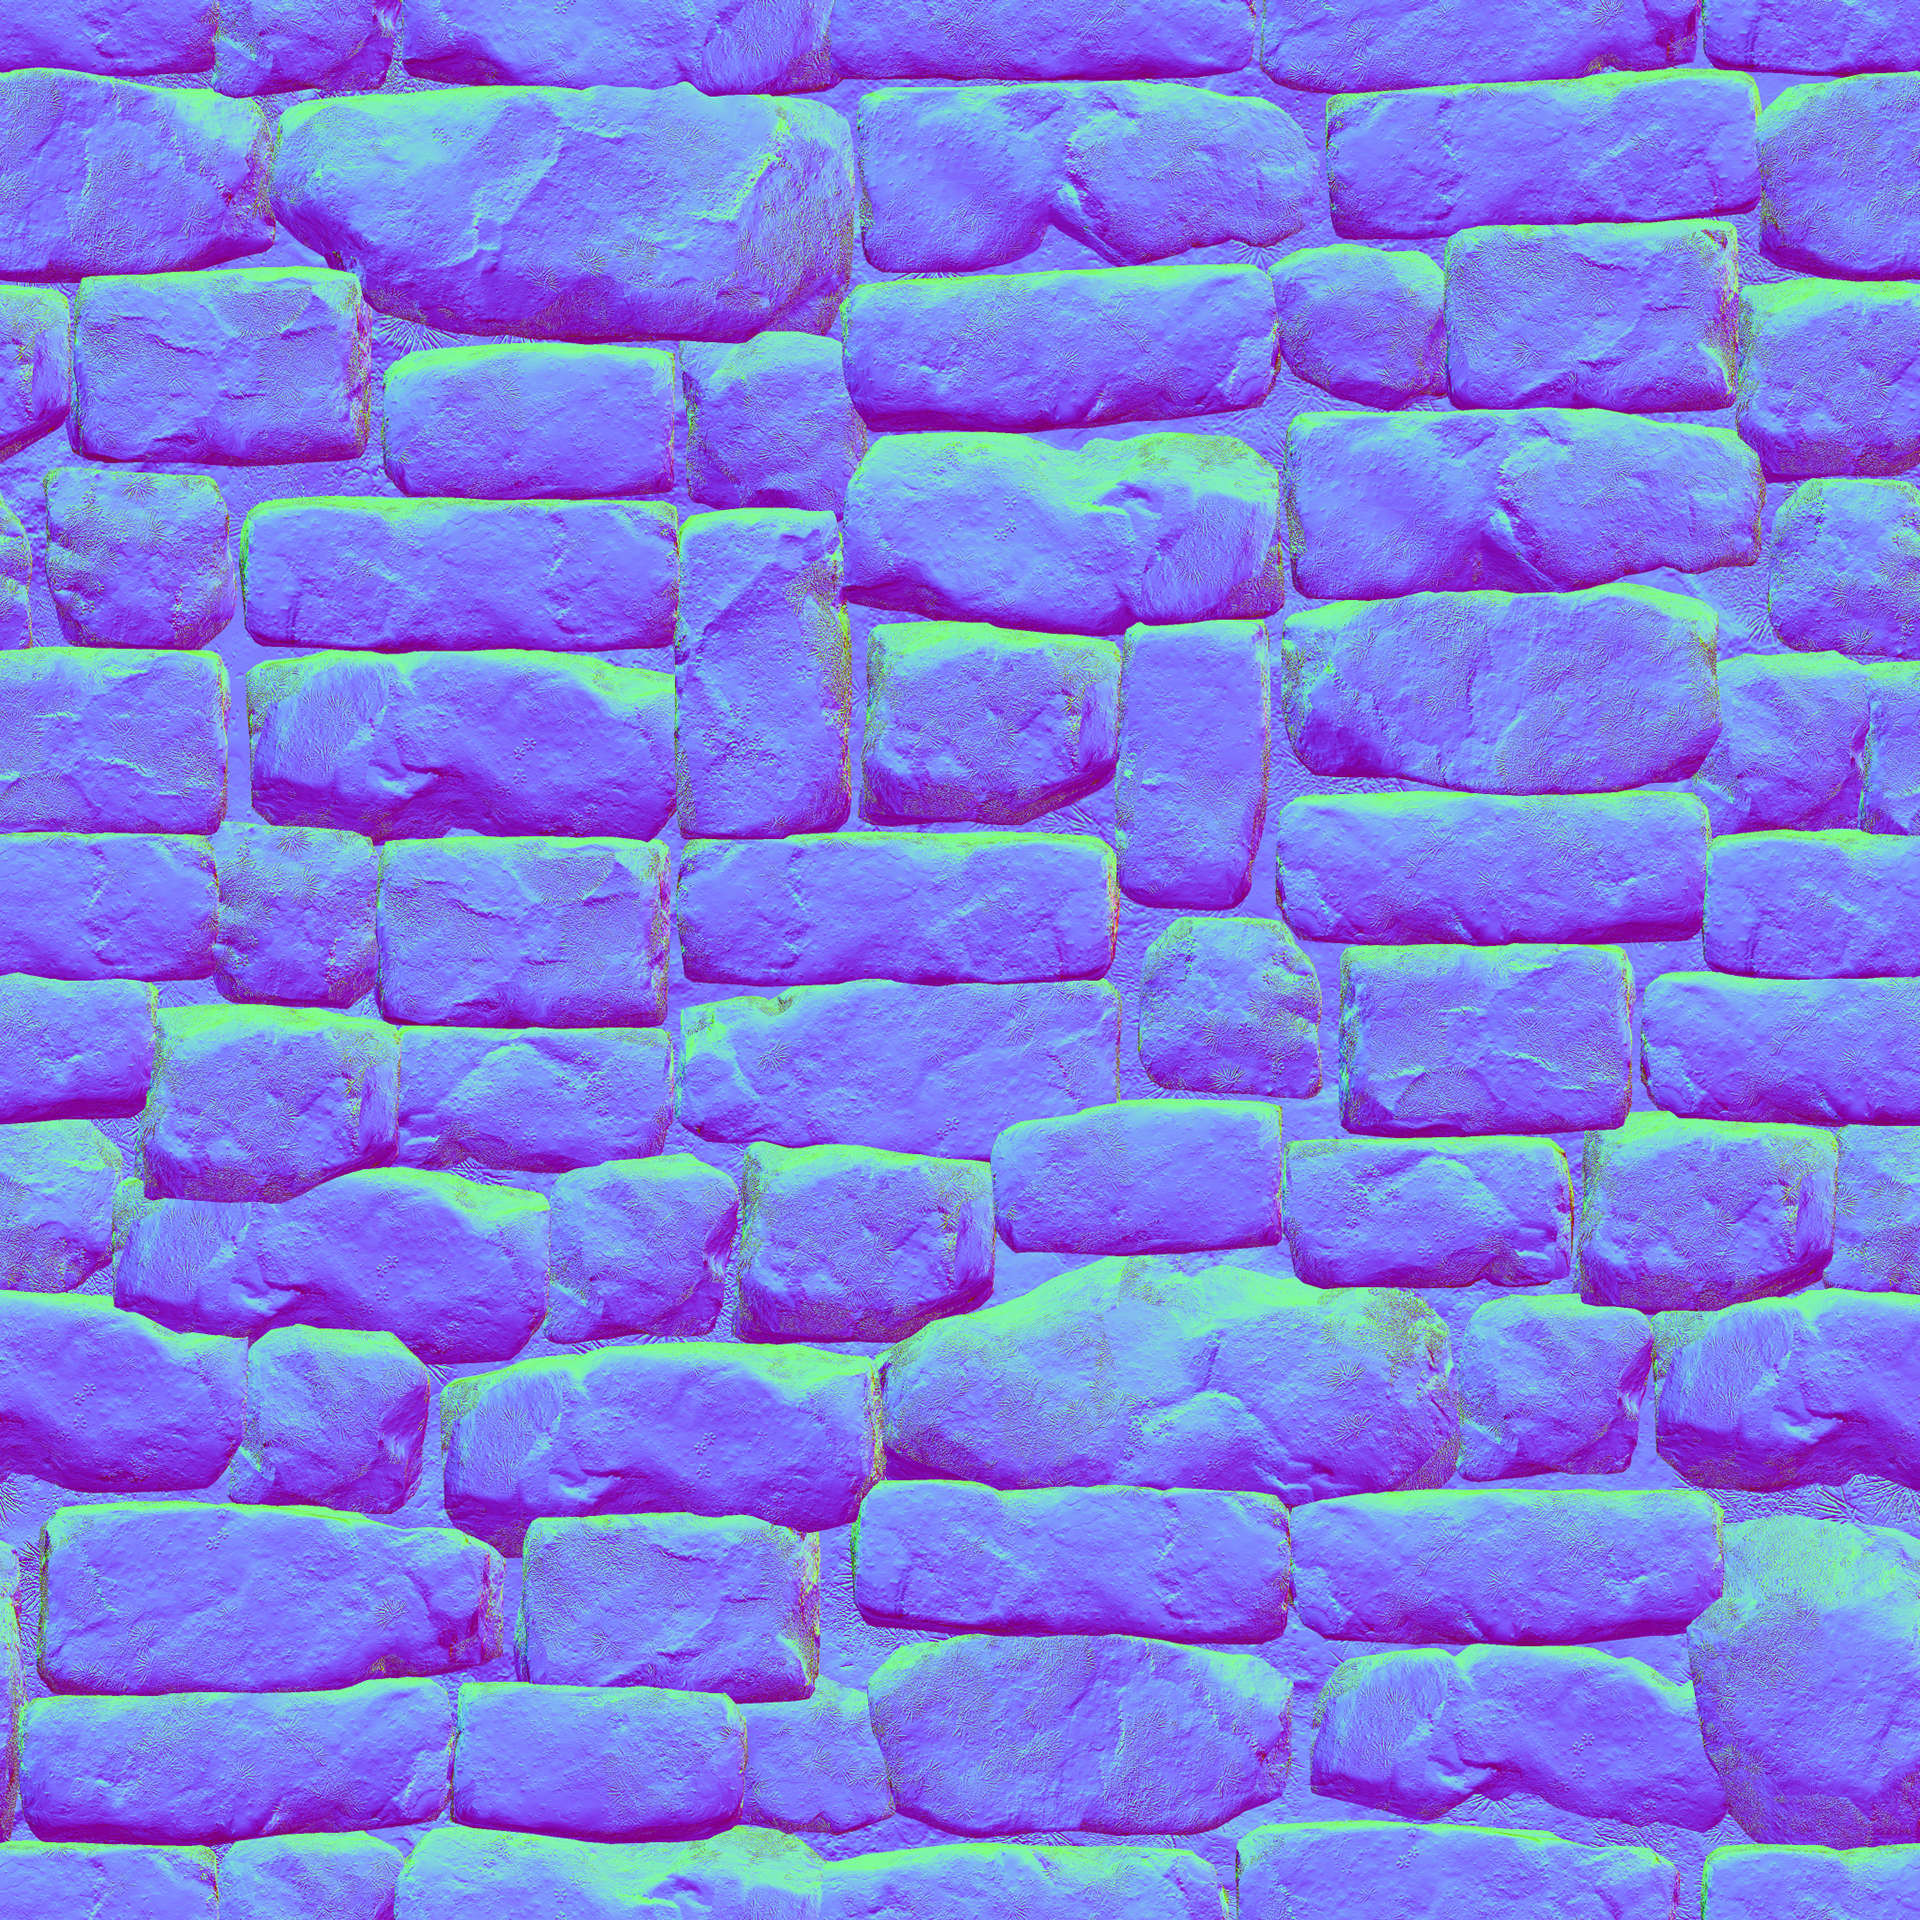
Normal
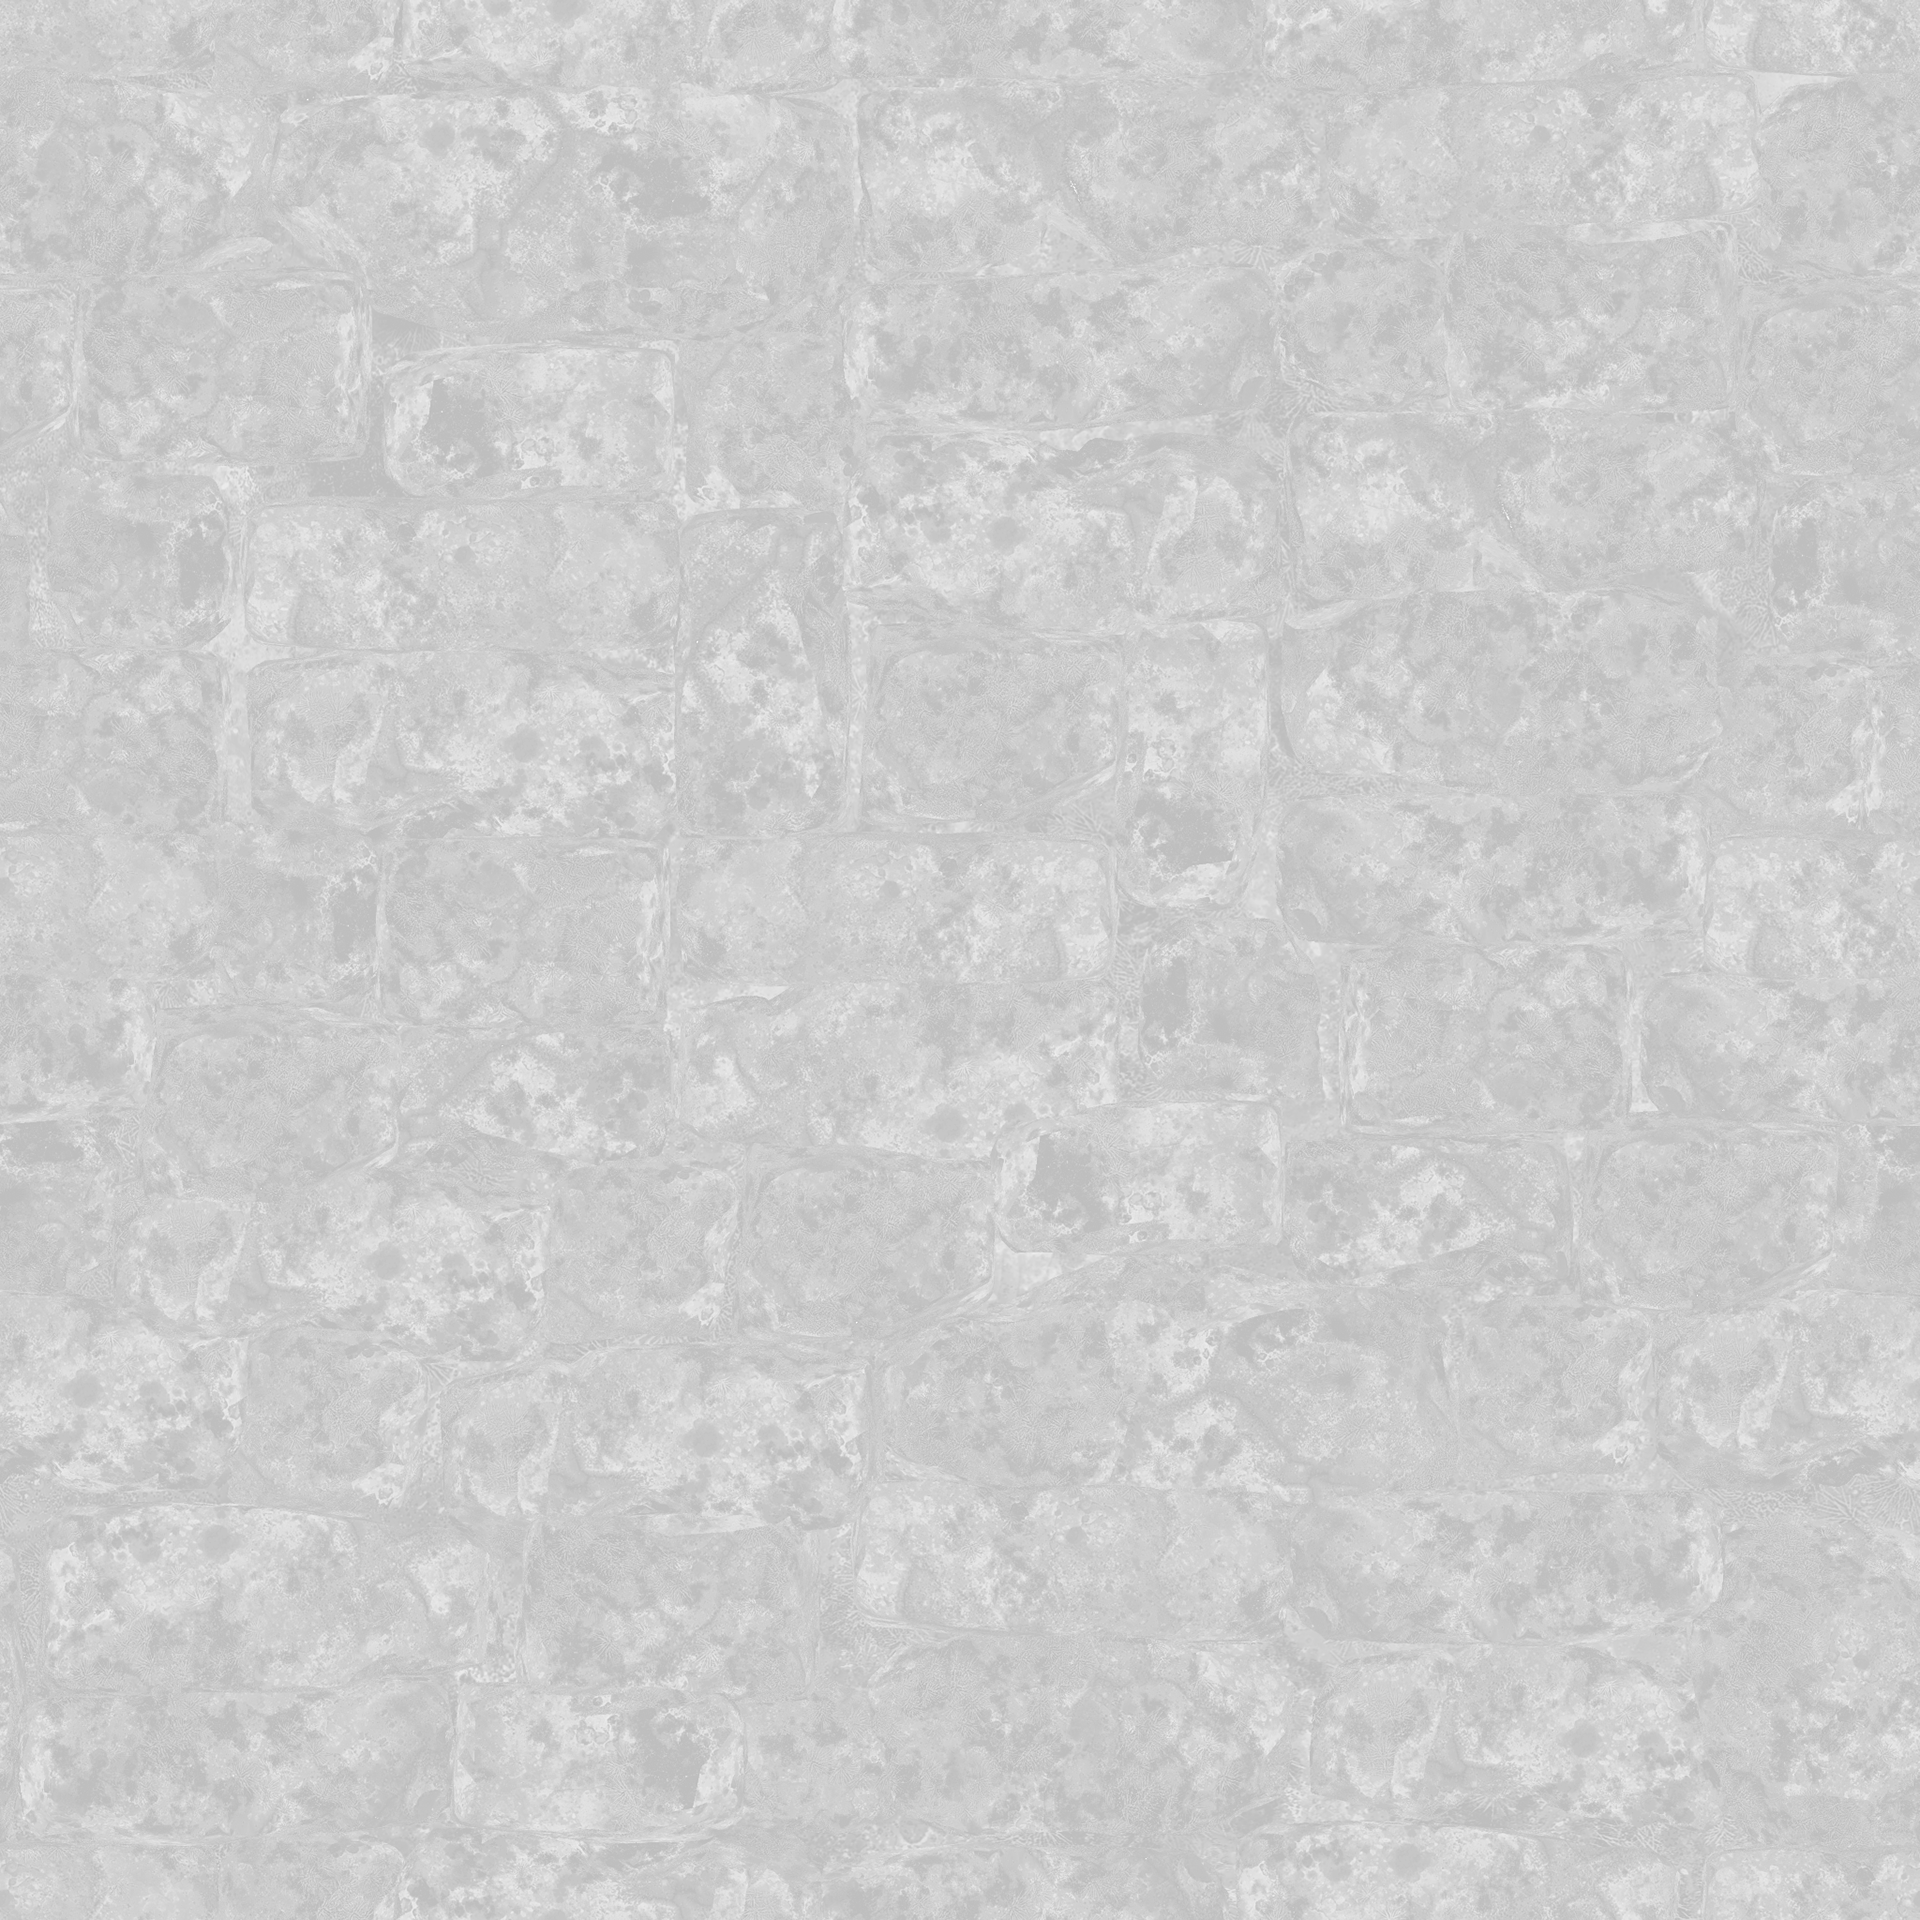
Roughness
LANDSCAPE
I tried many different approaches to get the landscape looking how I wanted for this project. Firstly I tried Nanite tesselation with UE5.4, but the landscape kept disappearing whenever I built the Nanite. It turns out my AMD Radeon RX 6600 XT has driver incompatibility issues with this feature (I confirmed this by testing out the project on a 4090).
The sculpted Landscape in Unreal looked too polygonal (see right), so I needed to try something new...
I tried a Parallax Occlusion Mapping technique but it had its own set of issues (unusable with moving camera because it became fuzzy).
I tried a Parallax Occlusion Mapping technique but it had its own set of issues (unusable with moving camera because it became fuzzy).
I decided to use Gaea 2.0 to create a procedural landscape, and sculpt my own details on top.
Look at this polygonal mess of a landscape...it needed work.
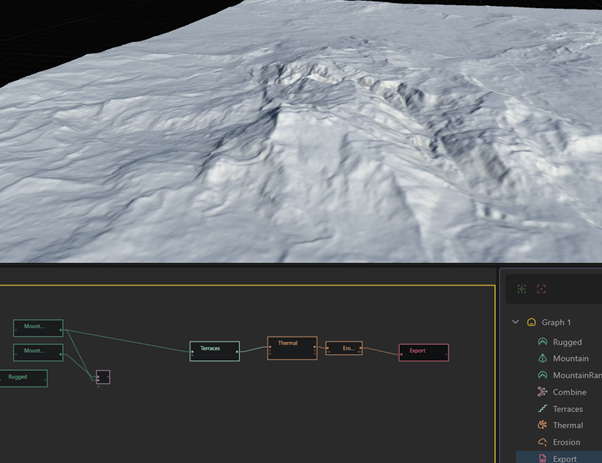
Gaea nodes
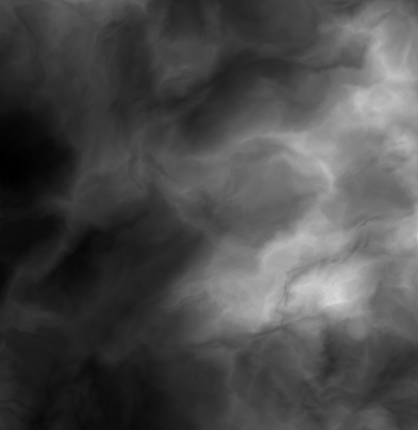
Height map
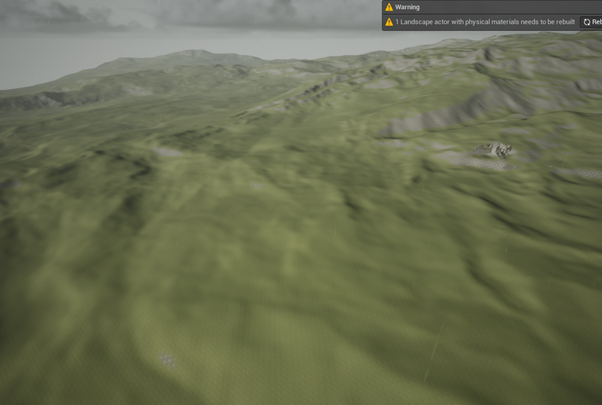
Landscape in engine
A landscape is only as good as the material driving it. So I started by setting up a blending Landscape material, with paintable grass and rocks, before adding some height displacement.
Testing with vector3 colours.
With textures.
With height contrast.
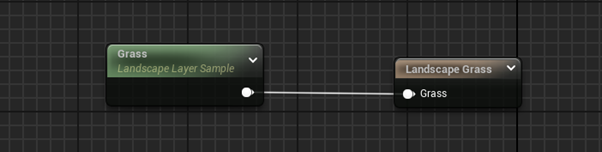
The main driver behind my landscape material though is a new function I discovered - Landscape Grass Types!
It involves creating a Landscape Grass Type in the Unreal outliner, and then the grass meshes to an array. Then add the Landscape Grass node to the Landscape Material, and make sure the Landscape Layer Sample plugging into it maintains the same name (for me it was "Grass").
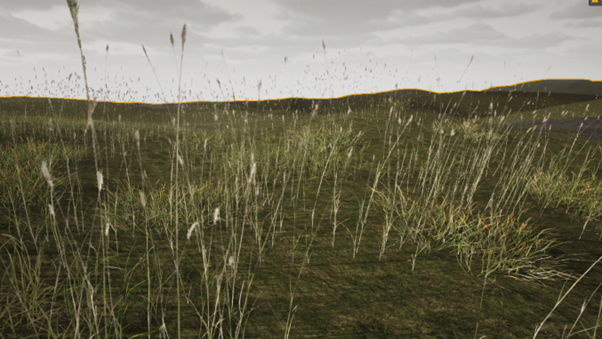
Then it spams grass across your desired landscape layer, at the density you desire, with random rotation and scale (like the foliage editor).
My favourite thing about Landscape Grass Types is that you can add anything...anything. For me, I found it useful to add rocks for cliff faces and stones for gravel. The gravel was especially useful because I was struggling to get tessellating details on the landscape in a way that looked nice.
NANITE TECHNIQUES
Near the completion of this project I sought feedback on the project and decided that I should try make more tessellated Nanite meshes to help break up the shape silhouettes, especially on the edges of the main keep. Previously I was breakup the silhouette manually with individually placed bricks.
My process to tesselate and Nanite optimize bigger pieces requires kit pieces that are already UV'd and tiling (thankfully I did all that work earlier). I then use Maya's Remesh tool to quickly retopologise mesh pieces to be extremely dense and high poly. This work's great because it preverves UVs. I then use the baked bricks height map to tessellate the retopo'd mesh with a Texture Deformer. After that you just need to Remesh and Reduce to get the mesh looking equally triangulated (for Nanite optimisation) and then you can bring it back into the scene.
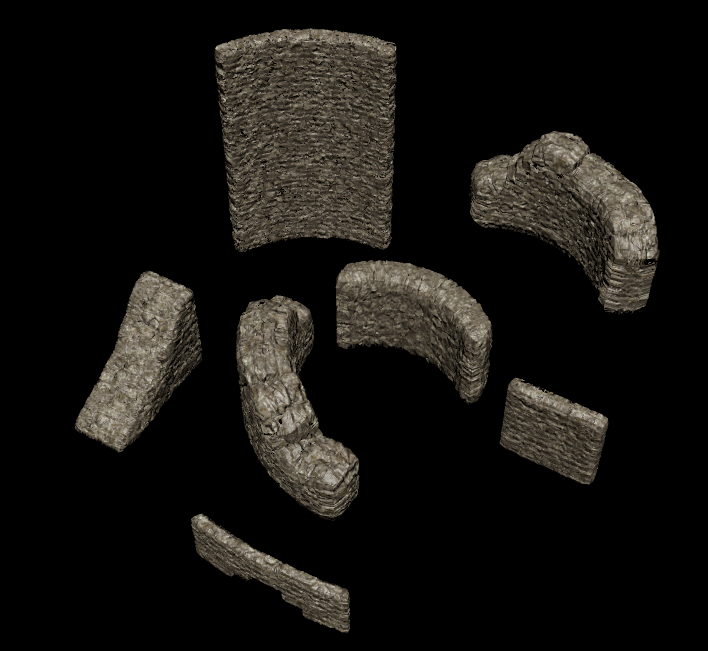
Look below for a comparison between the non-tessellated mesh and tessellated Nanite mesh (note that the Nanite mesh hasn't been Vertex color painted here).
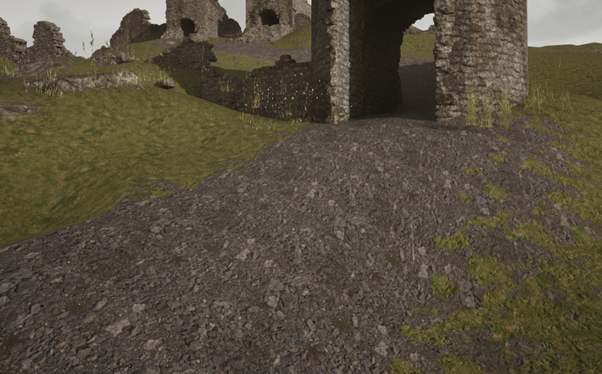
Aside from the rock bricks, the scene primarily relies on Nanite tessellated pieces like below.
Lighting & Atmosphere
I've often found Unreal's clouds difficult to manipulate. Since moody lighting and atmosphere is so pivotal to this environment, I needed it to land. And the existing setup was looking to bland, or to dark. So I opted to use the Ultra Dynamic Sky & Weather plugins. This involved deleting my entire previous lighting setup (but I opted to maintain my existing Post Process Volume).
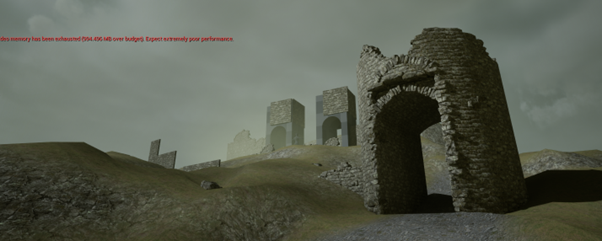
Not happy with this at all at this point.
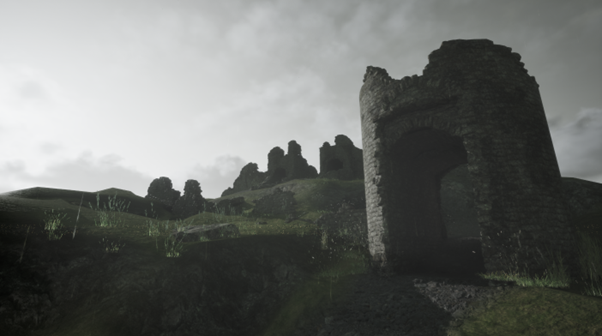
Ultra Dynamic Sky already achieving a significantly cleaner result.
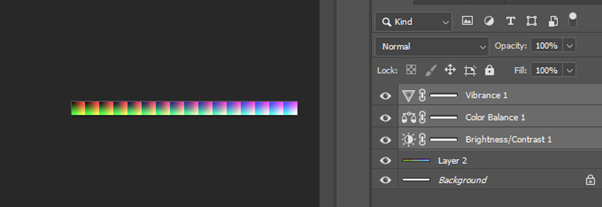
Not perfect at this point, but at least the lighting is more indicitave of the moody direction I was aiming for. At this point I decided to create a custom Look Up Table for the post processing. The way I do this is how it's done in the Unreal Documentation - get a screenshot of the scene and bring it in Photoshop, add adjustments layers until you get your desired look. Add those adjustment layers to the default UE5 Look Up Table, and then export.
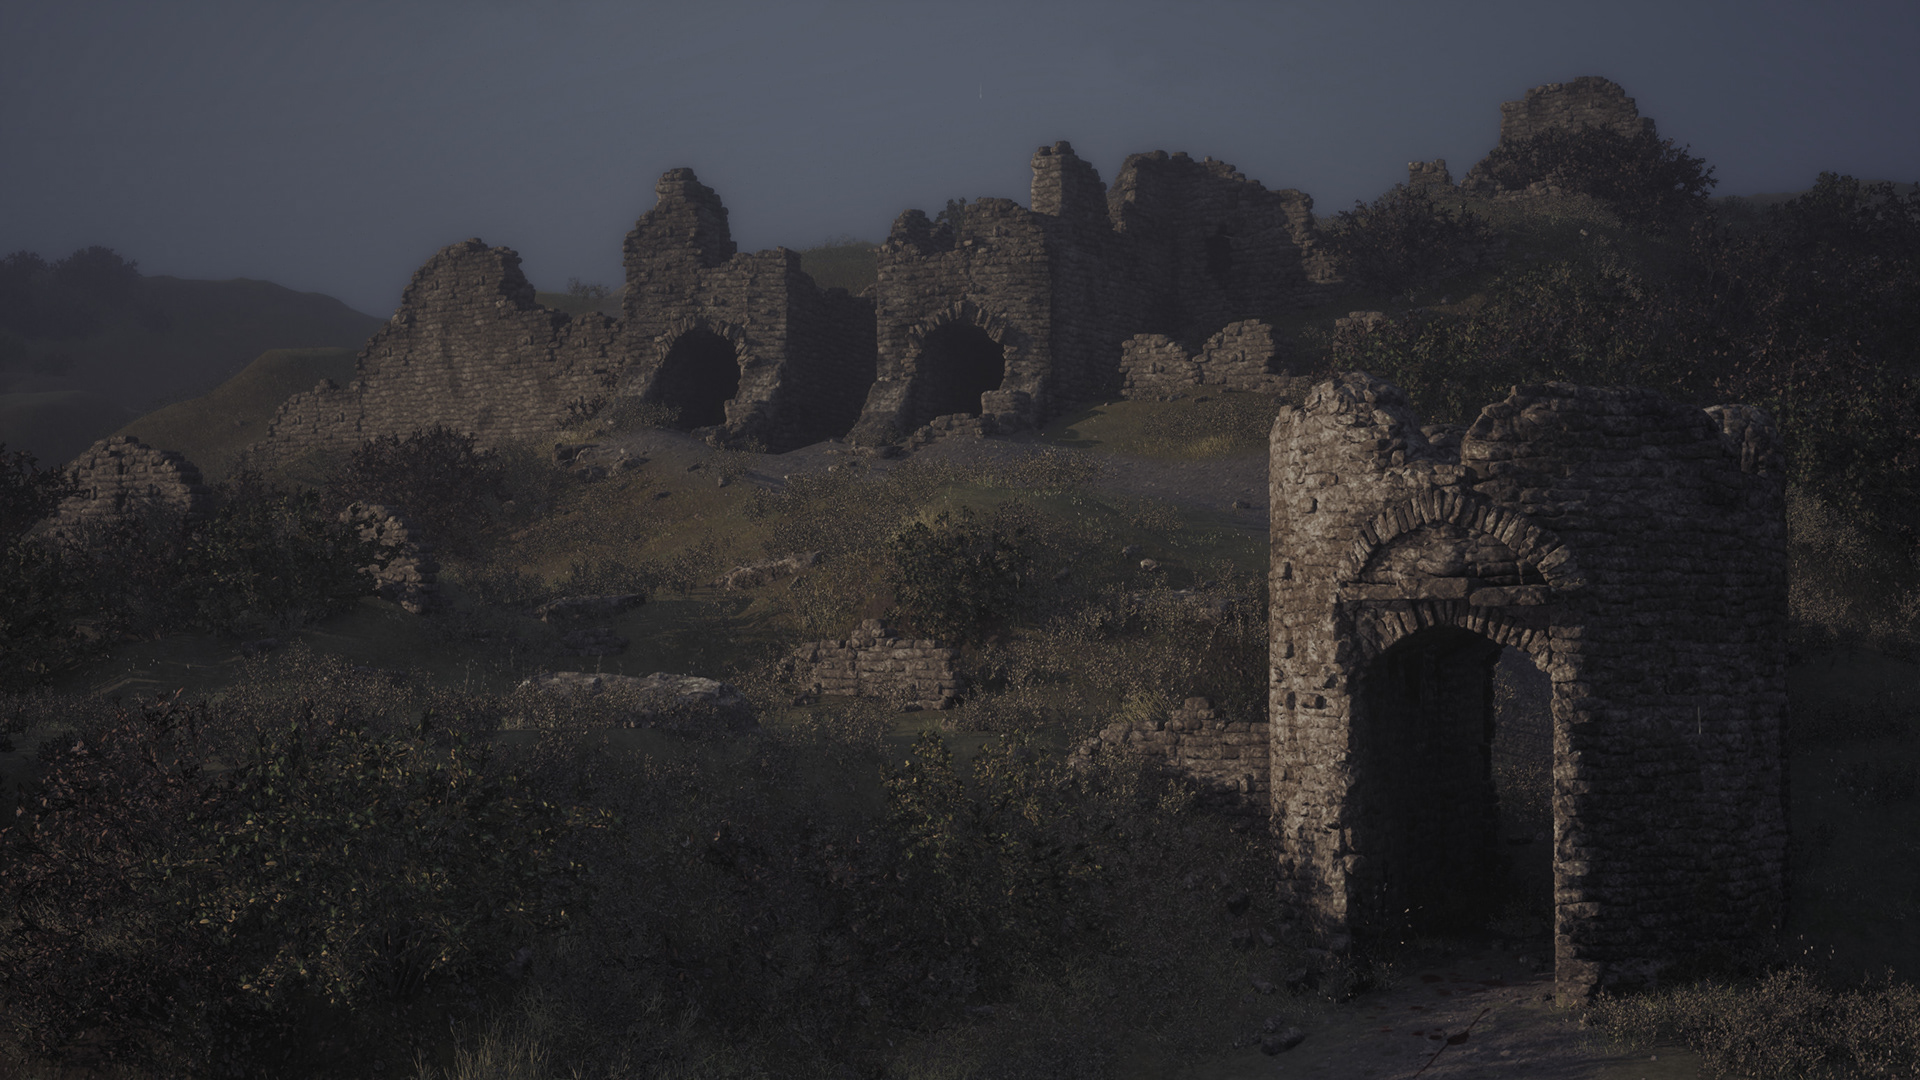
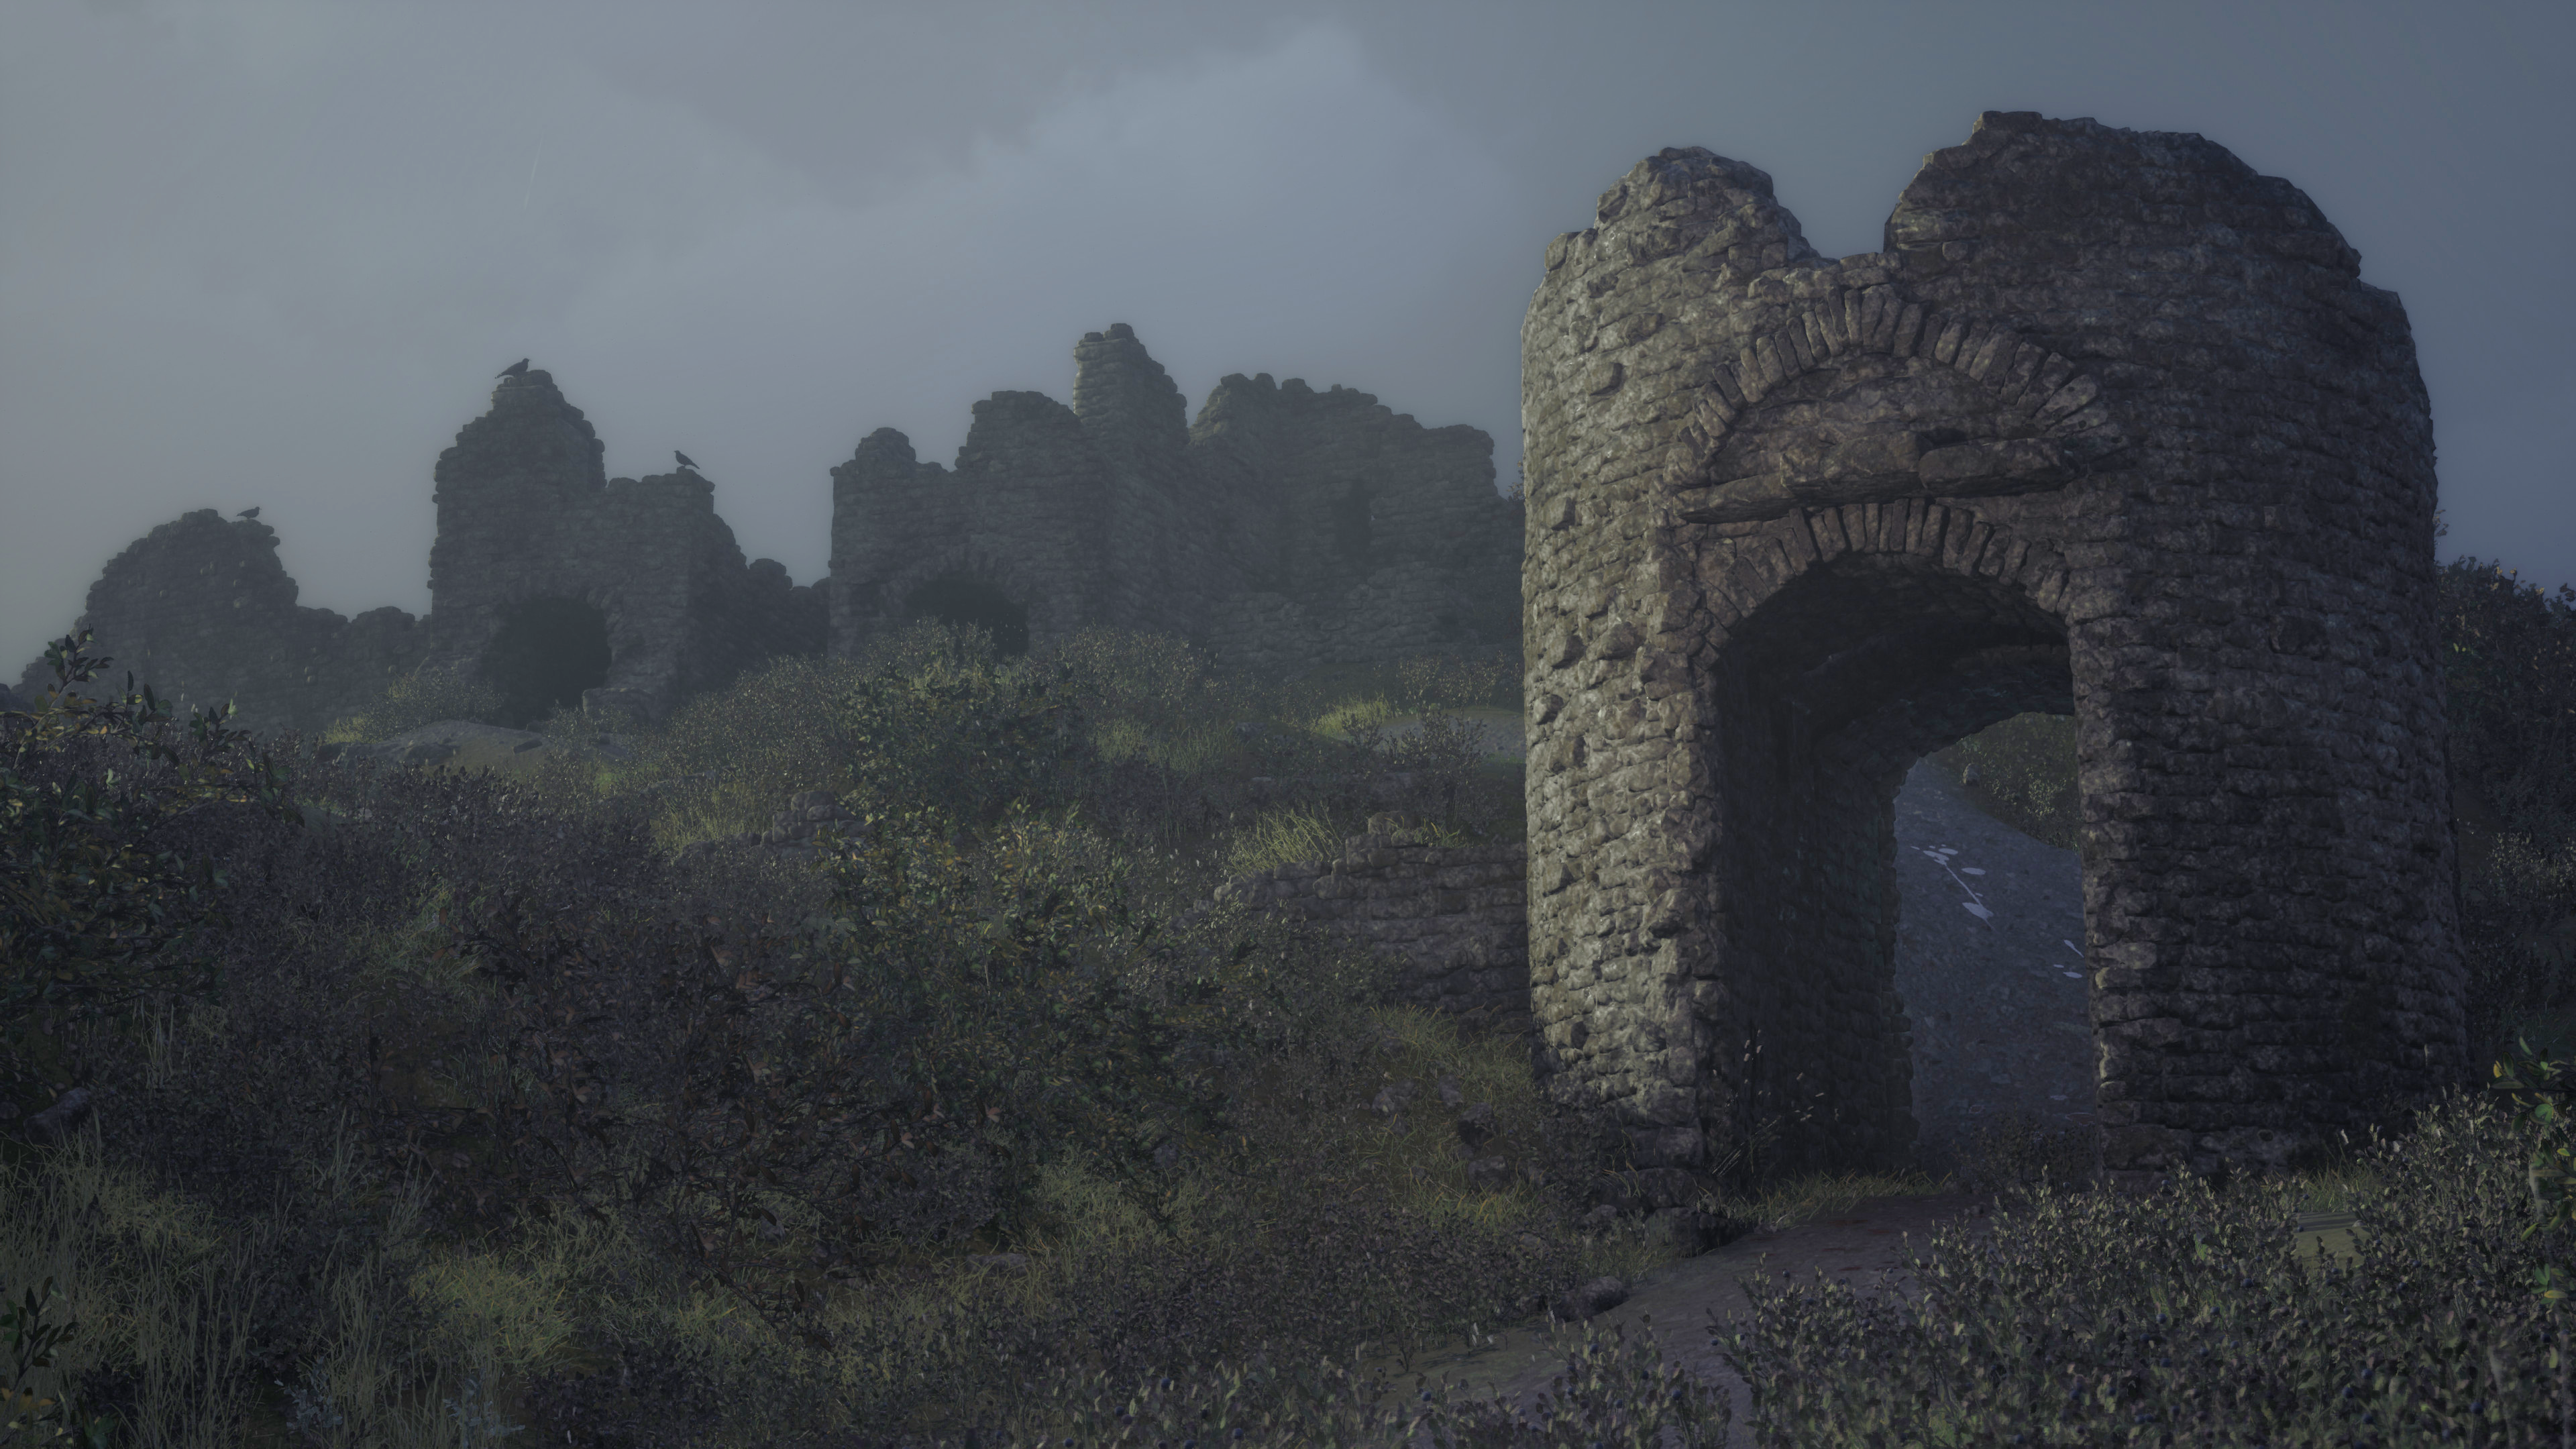
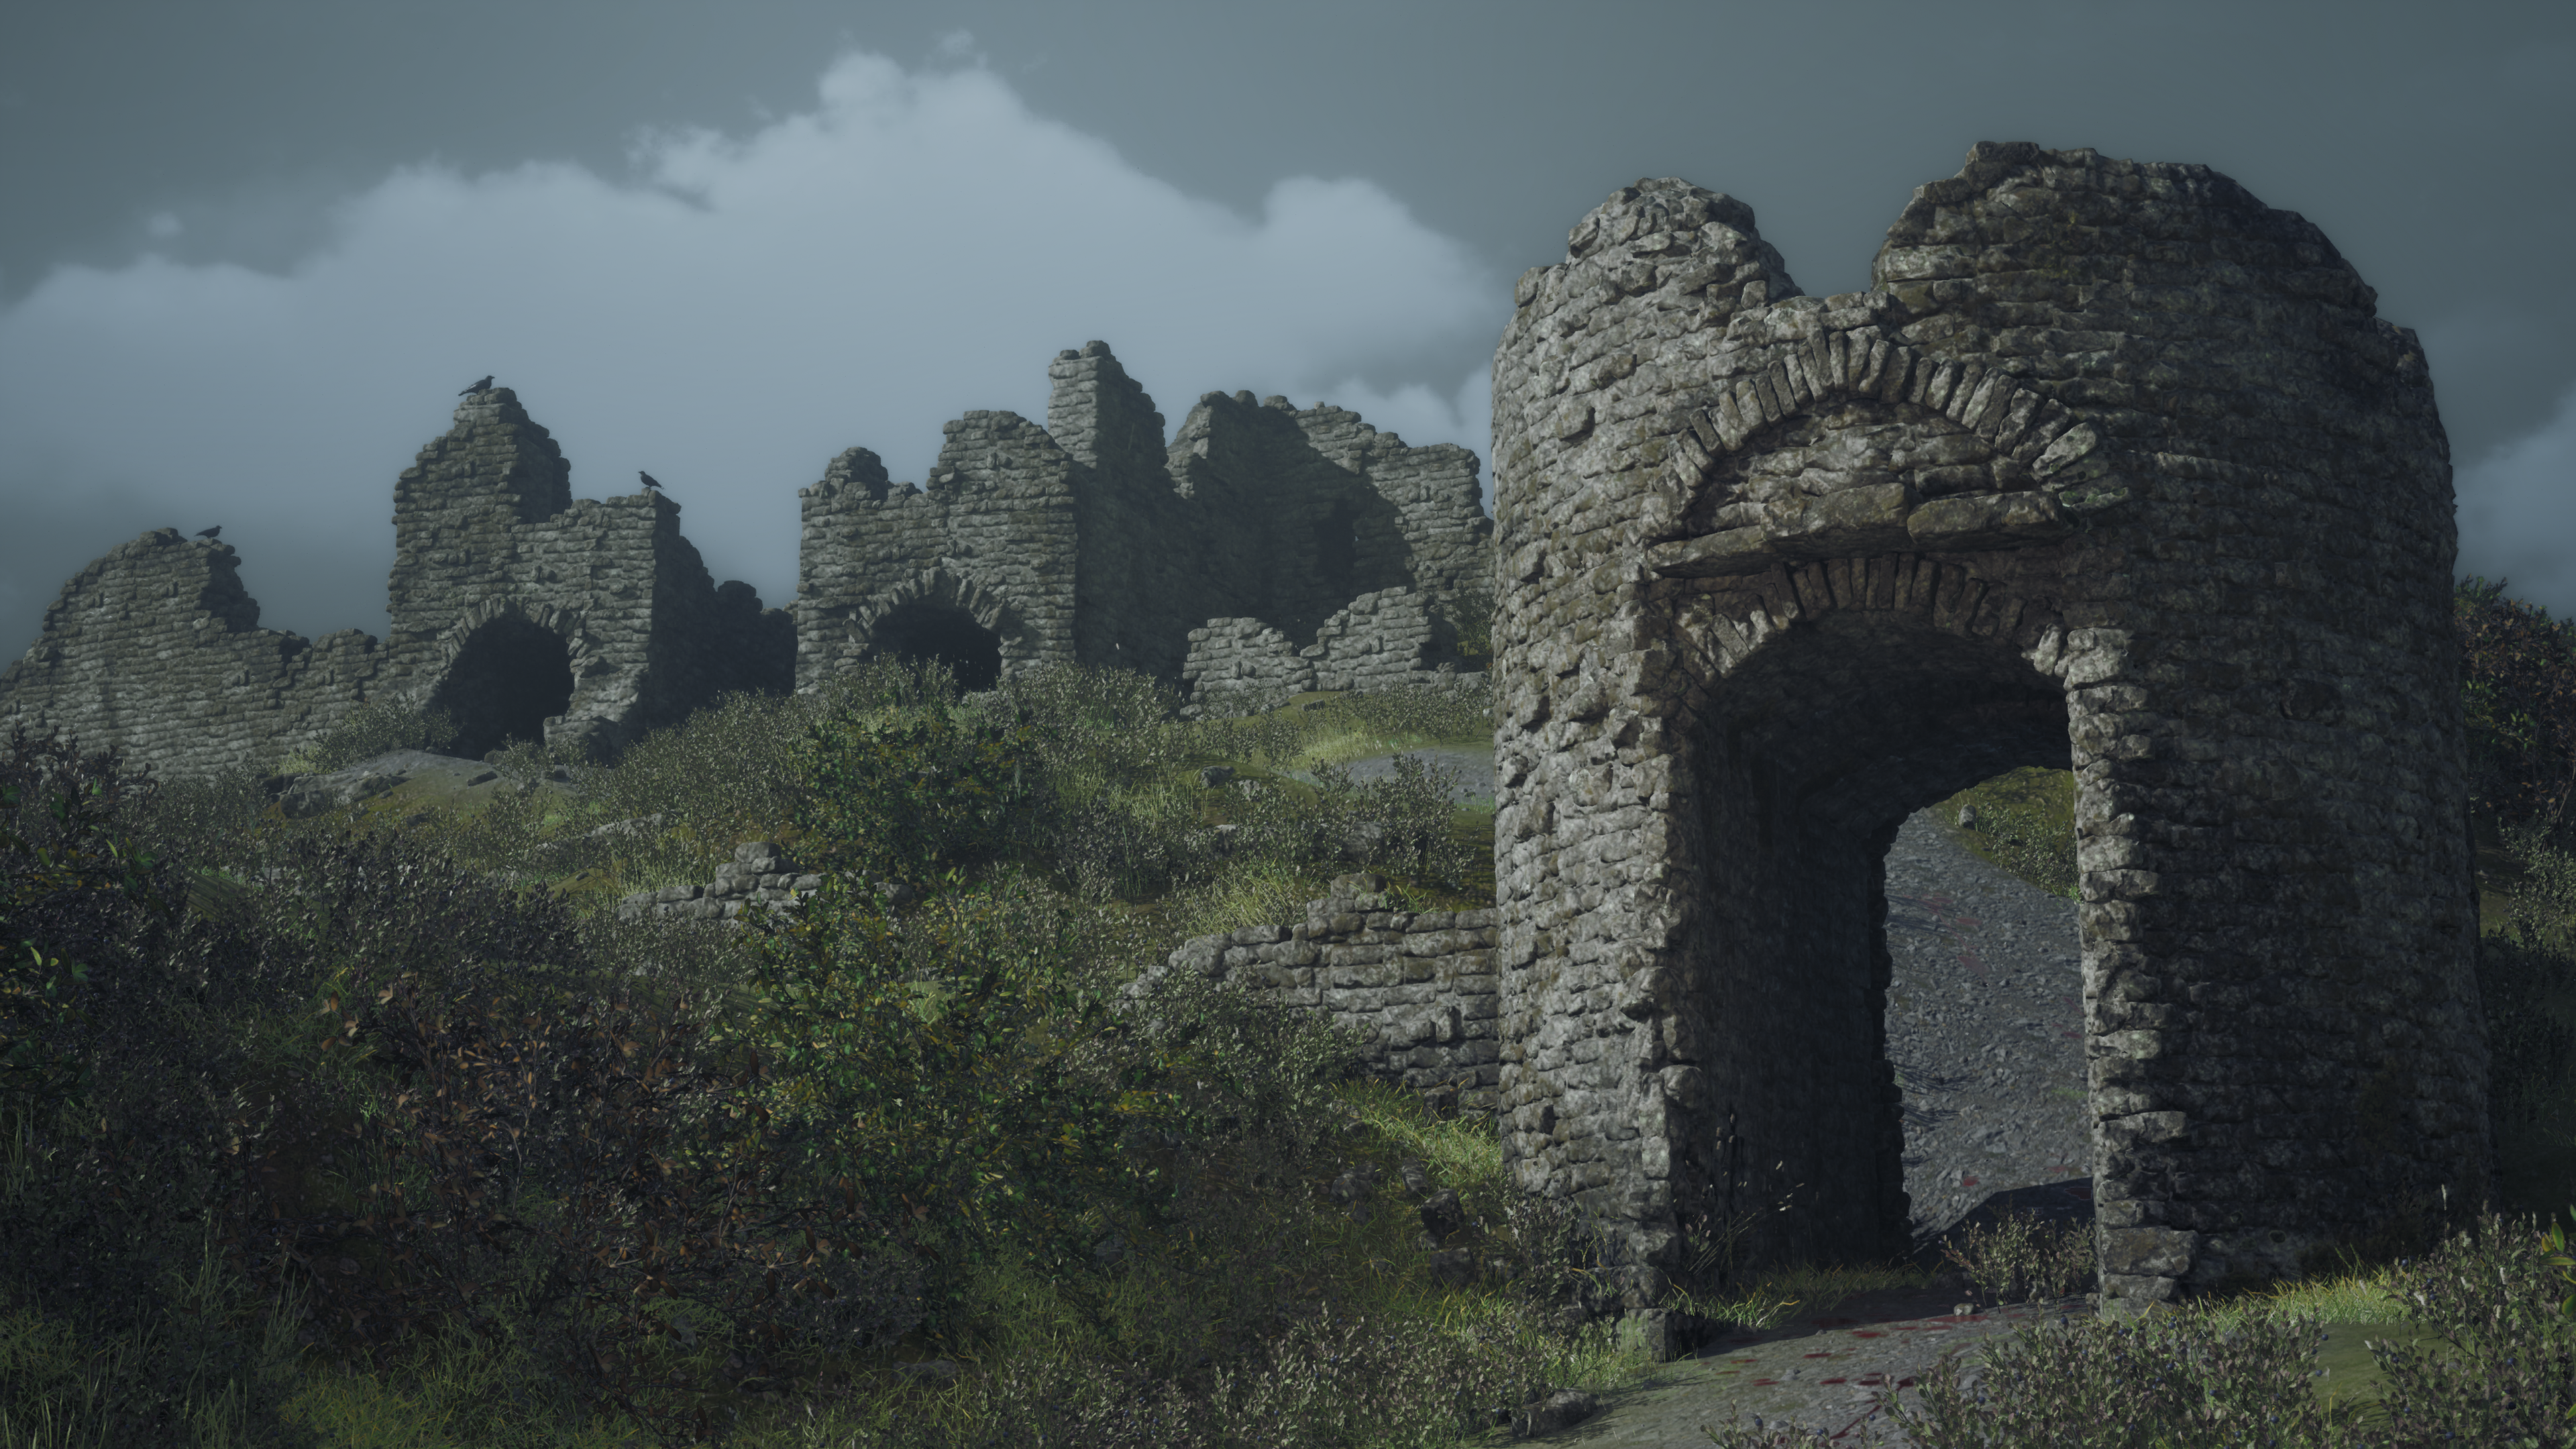
I constantly tweaked and adjusted lighting while in the near ending parts of the project. In the end I was happy with the light direction. I utilised Ultra Dynamic Weather's rain, fog and wind features to add some dynamism to the setting.
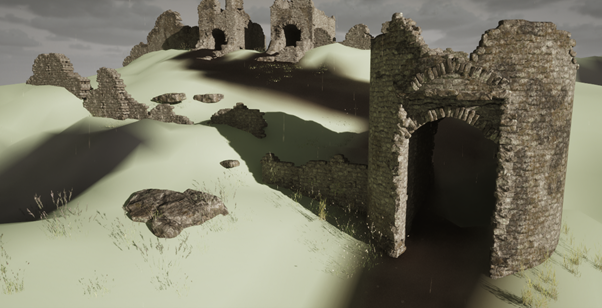
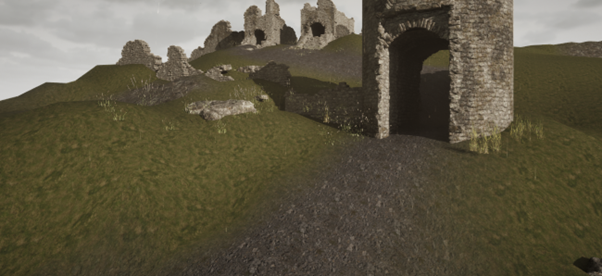
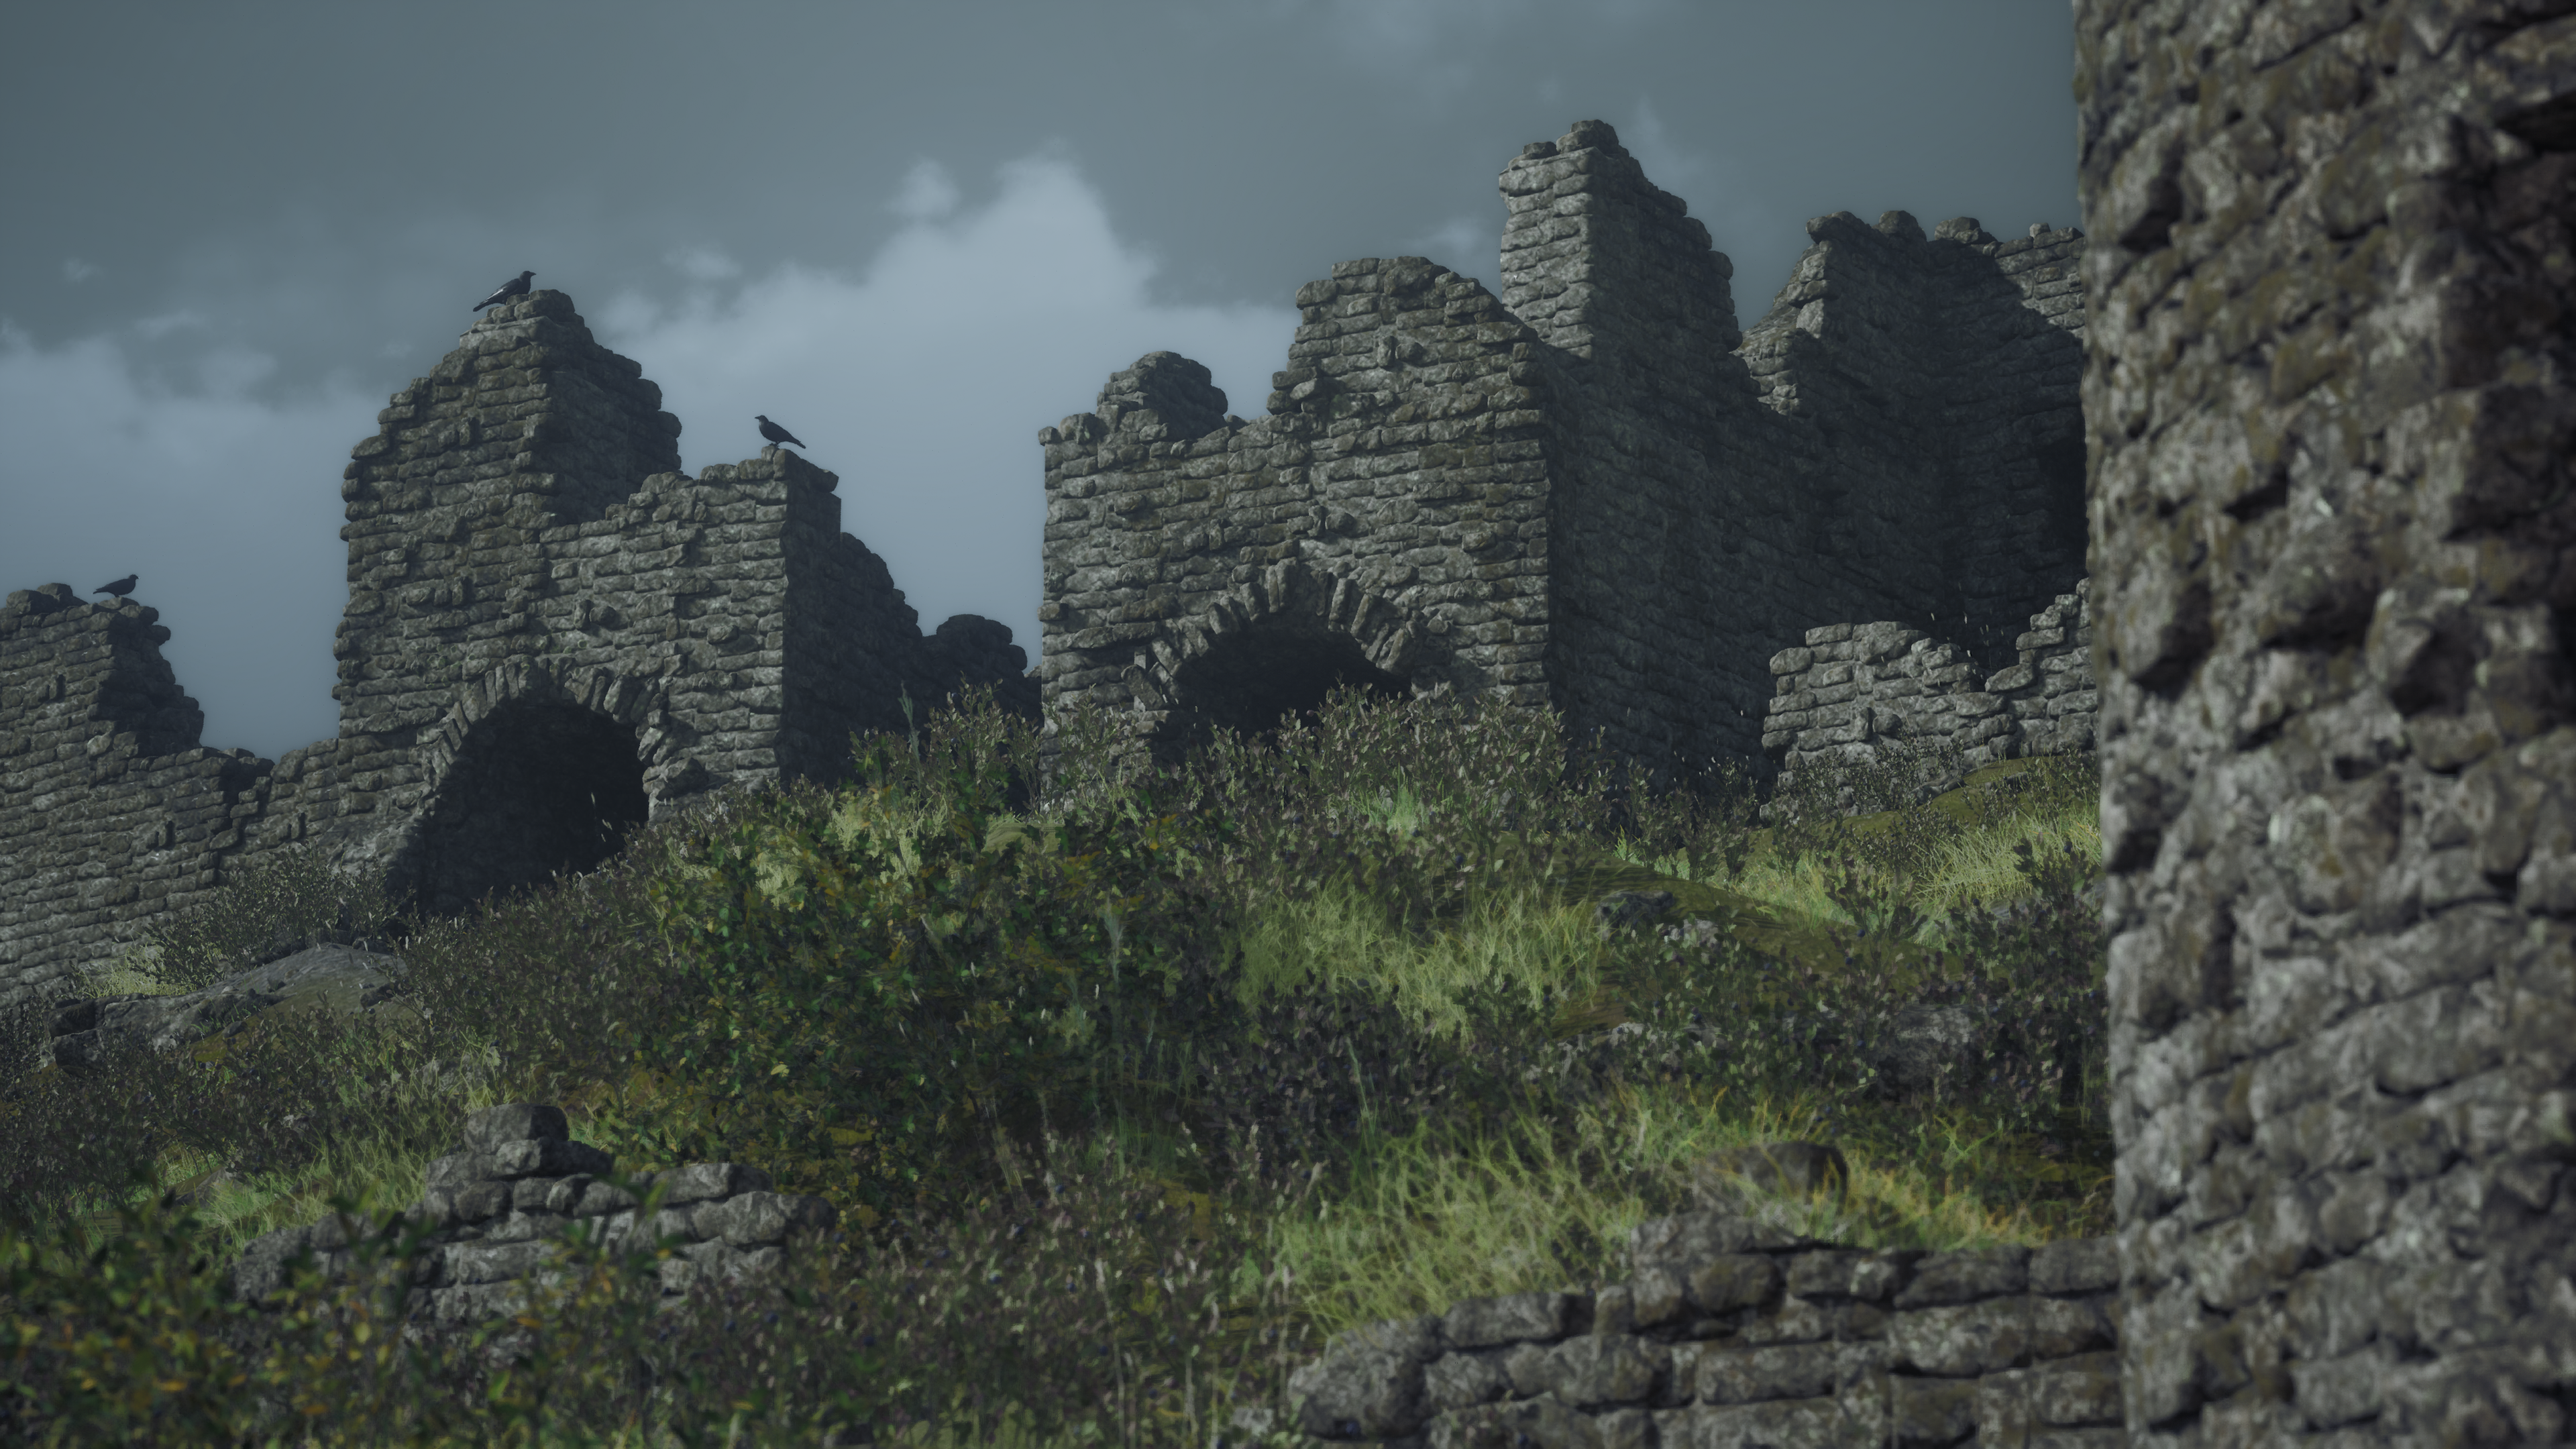
FINAL RENDERS

VIDEO FLYTHROUGH
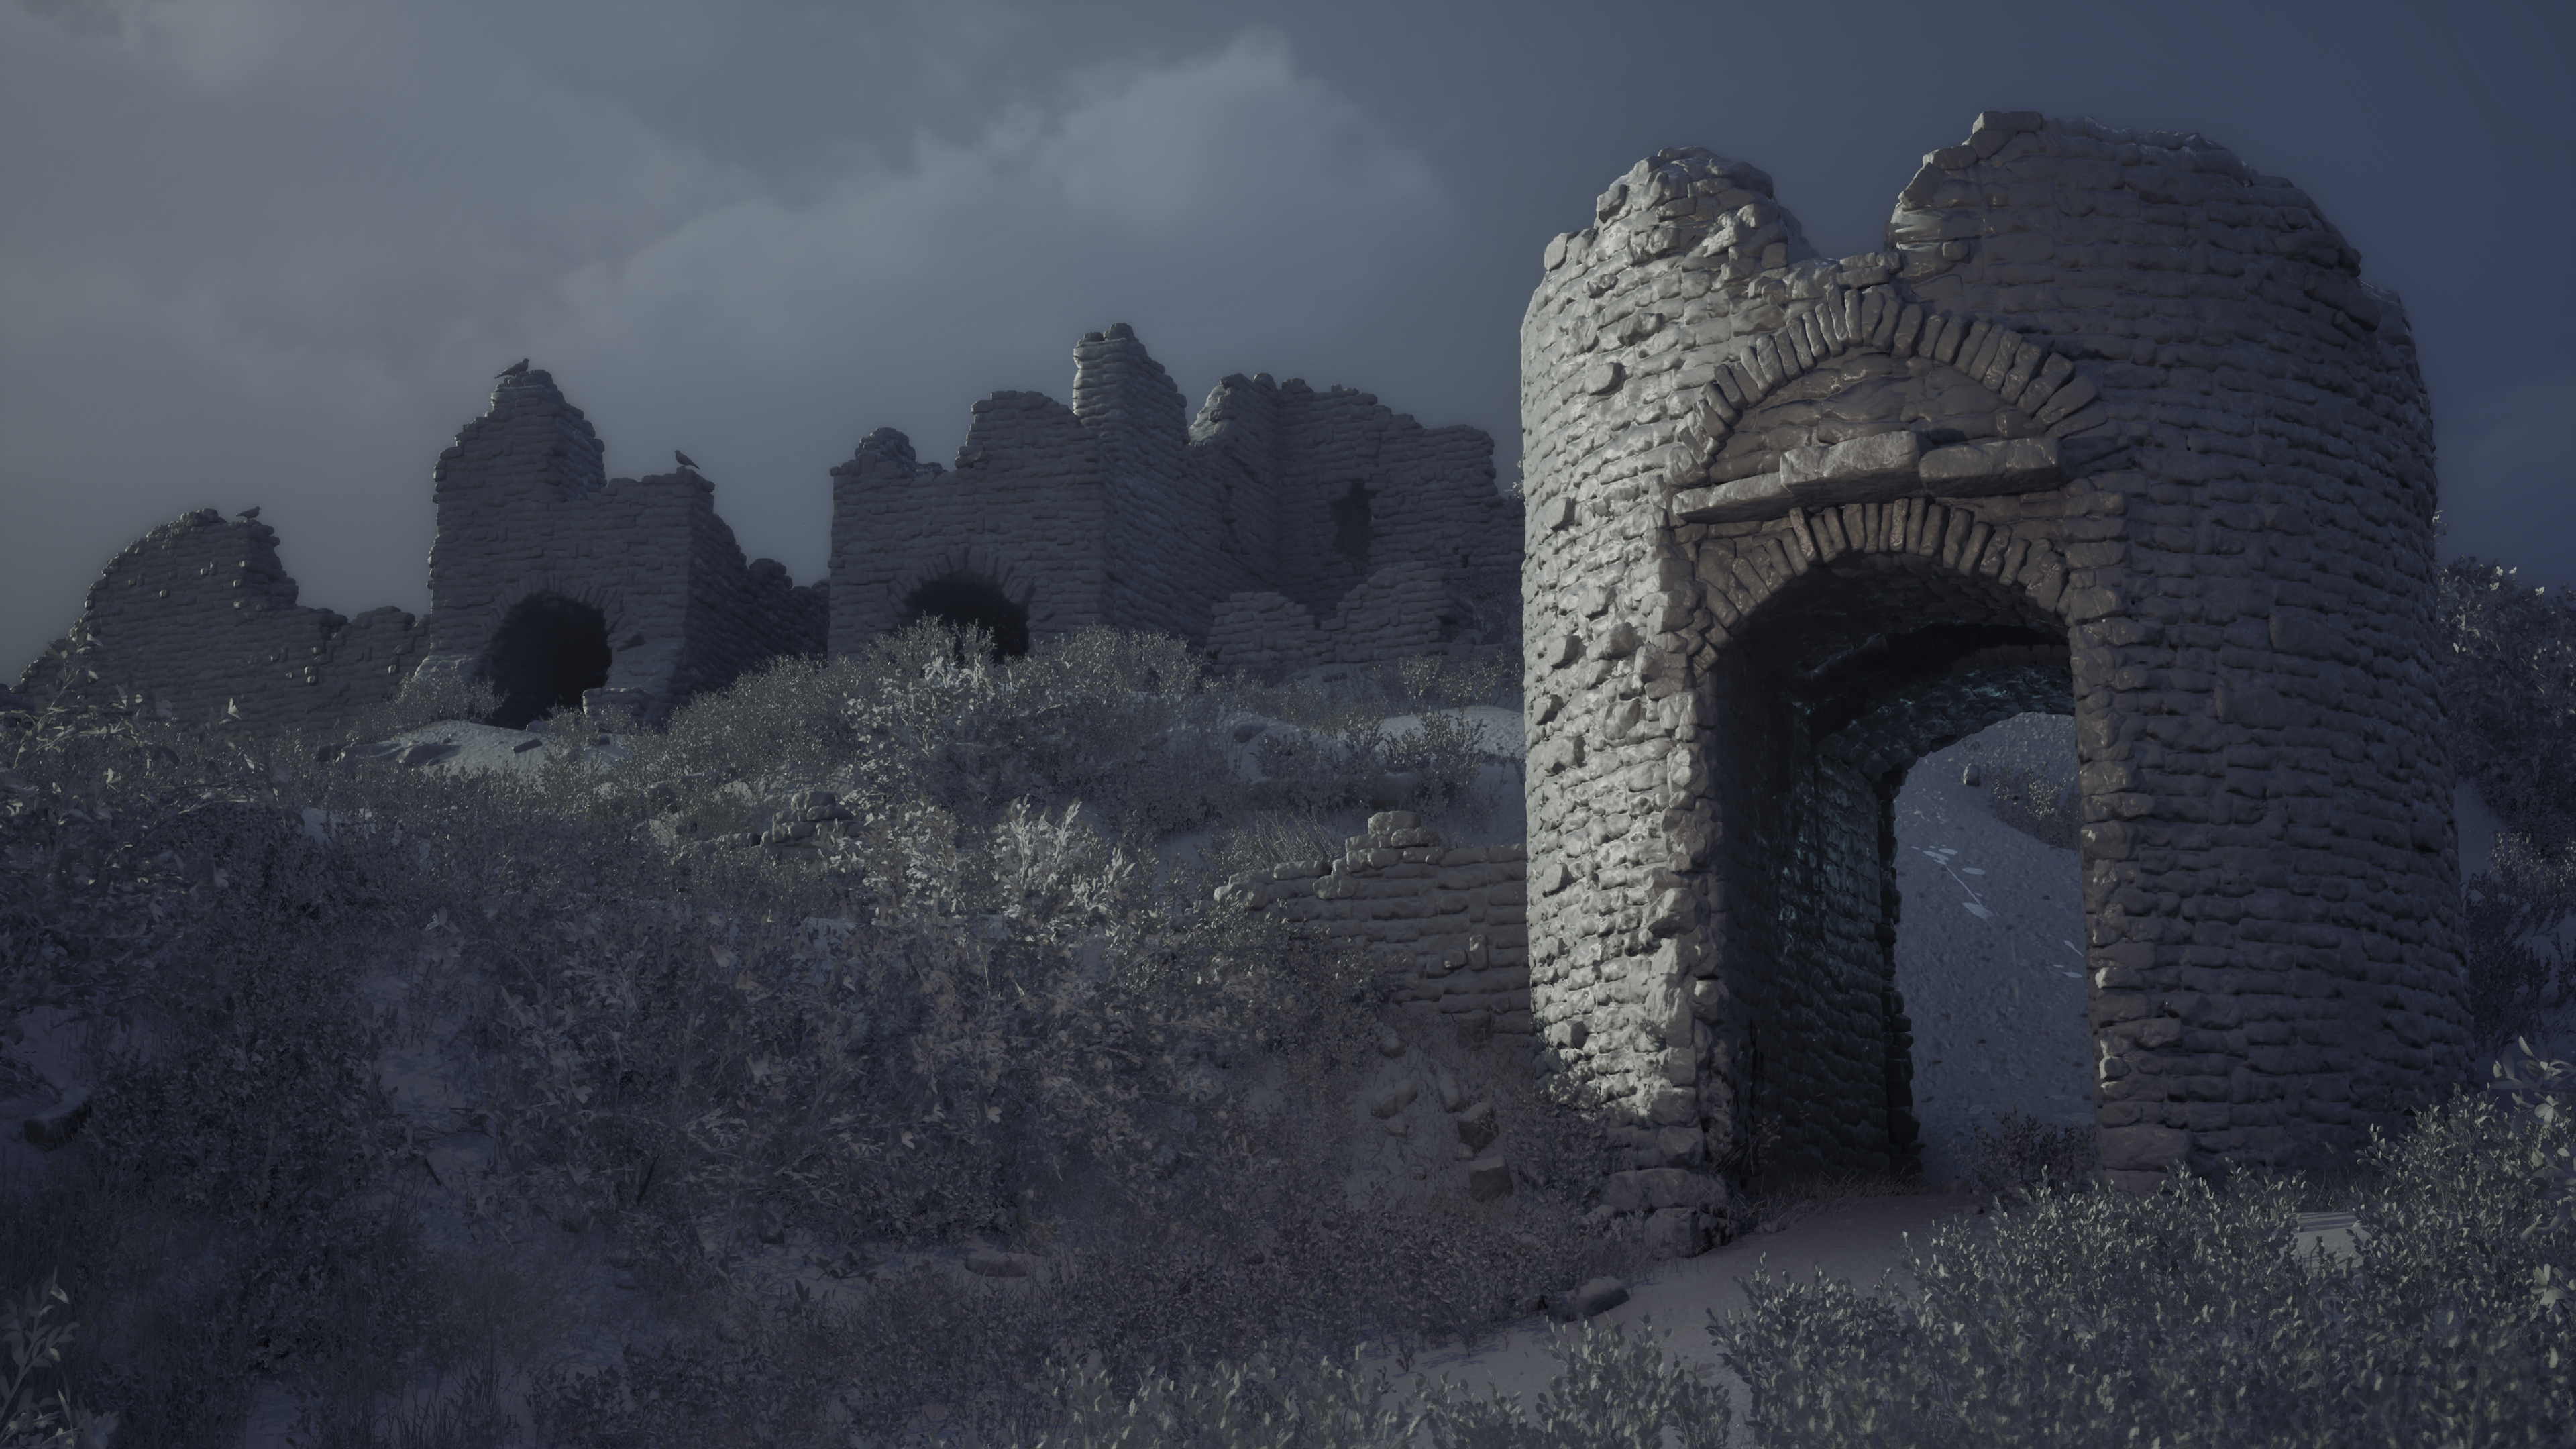
ALTERNATE LIGHTING OPTIONS